I’ve lost money in airports in almost every way you can imagine: awful exchange rates, sneaky card fees, overpriced SIMs, and taxis that cost more than the flight. The worst part? Most of it was completely avoidable.
This is the guide I wish I’d had years ago. We’ll walk through the three big airport money traps on arrival – currency exchange, SIM cards, and transport – and what things really cost compared with smarter, cheaper options in the city.
1. First Decision: Do You Actually Need Airport Cash Right Now?
The first trap hits before you even reach the counter. You land, you’re tired, and there’s a glowing sign shouting 0% commission
. It feels like you have to get cash immediately or you’ll be stuck.
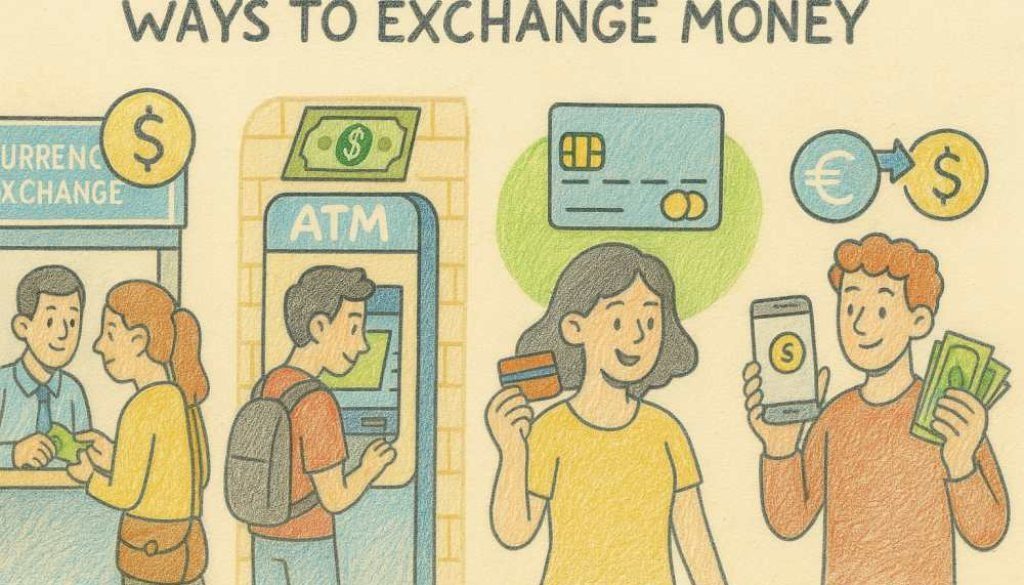
In reality, when you arrive you usually have three ways to get money:
- Airport exchange counter – fastest, almost always the worst value.
- Airport ATM – usually better than counters, but watch the fees and on-screen tricks.
- Card payments – often the cheapest if you have a decent travel card.
From multiple breakdowns of airport currency exchange costs, you’re often paying:
- 10–20% more than the real mid-market rate at airport kiosks (example).
- 3–5%+ markup even at supposedly “good” counters, according to Grey.
So before you join the line, ask yourself:
- Can I pay my first expenses by card? Many airport trains, metro machines, and ride-hailing apps accept cards or mobile wallets.
- Is there a bank ATM in the arrivals hall? These are often cheaper than the exchange desk, even with a flat fee.
- Do I really need more than 20–50 units of local currency right now? Enough for a snack, a small tip, or a backup taxi is usually plenty.
My rule now: I only get airport cash if I cannot pay for transport or a SIM with my card. And even then, I take the bare minimum. That one decision alone avoids a lot of classic arrival money mistakes.
2. Currency Exchange: How Much Are You Really Losing?
It’s easier to see the trap when you put numbers on it.

Imagine the real mid-market rate is:
1 USD = 0.90 EUR
You hand over $300 at the airport.
At the real rate, you should get:
- $300 × 0.90 = 270 EUR
What an airport counter might actually give you:
- Posted rate: 1 USD = 0.78 EUR (about 13% worse)
- Cash you receive: $300 × 0.78 = 234 EUR
You’ve just lost 36 EUR (~$40) for the convenience of changing money in the terminal. That’s a decent dinner gone.
And that’s before you add:
- Flat fees (for example, 5–10 EUR per transaction).
- “0% commission” tricks where the fee is hidden in a terrible rate.
- Bait-and-switch deals where the good rate only applies above some huge amount.
Here’s how I now handle cash and avoid the worst airport money traps step by step:
- Check the real rate before flying.
I quickly GoogleUSD to MXN
or use XE. That number is my anchor. If the airport rate is more than about 5% worse, I walk away unless it’s a genuine emergency. - Bring a small starter stash from home.
Sometimes I order a small amount (enough for day one) from my bank or an online provider. They usually beat walk-up airport rates by a lot and make arrival less stressful. - Use ATMs at the destination for most of my cash.
Local bank ATMs usually give something close to the interbank rate. Even with a $3–5 fee, it’s often far cheaper than losing 10–20% at a counter. This is usually the cheapest way to get cash at the airport if you must. - Withdraw in fewer, slightly larger chunks.
Flat ATM fees punish small withdrawals. I’d rather pay one $5 fee on $300 than three $5 fees on $100 each. - Avoid reconverting leftover cash.
Changing money back is another hit, especially for less common currencies. I try to spend down cash or keep small amounts of major currencies (EUR, USD, GBP) for future trips.
One more ugly detail: some airport counters have been caught mixing in counterfeit or damaged notes. Always count and inspect your cash at the counter before you walk away.
3. Card Payments & ATMs: The Hidden Fee You Click “Yes” To
Even if you skip the exchange desk, there’s another common airport money trap waiting at ATMs and card terminals: Dynamic Currency Conversion (DCC).
You’ve probably seen it. The machine asks:
Convert to your home currency? We guarantee the rate.
It looks friendly. It isn’t.
When you choose to be charged in your home currency (USD, GBP, etc.), the local bank or payment processor sets the rate. They often add a 5–20% markup on top of what your own bank would have used.
The rule I follow everywhere now:
- Always choose to pay in the local currency.
This applies to:
- Restaurant card machines
- Hotel payments
- Airport ATMs
- Online bookings in foreign currencies
Other card and ATM habits that save me money:
- Use travel-friendly cards. I carry at least one card with no foreign transaction fees. Many regular cards quietly add ~3% on every foreign purchase.
- Use multi-currency apps. Services like Wise or Revolut (mentioned in several sources, e.g. Flightips) let me convert at near-mid-market rates and hold multiple currencies.
- Choose bank ATMs over random ones. I look for ATMs from major banks, not bright, standalone currency machines in the terminal. Those “independent” ATMs often have the worst rates and highest fees.
- Read every screen. If an ATM shows a “guaranteed rate” or “conversion,” I cancel and try another machine or choose “continue without conversion.”
Once you get used to saying charge me in local currency
, you’ll start noticing how often you were being quietly overcharged before.
4. Airport SIM Cards: Convenience vs Real Cost

After money, data is usually the next thing people buy. Airport SIM desks know this, and they price accordingly. This is where the airport SIM card vs eSIM decision really matters.
Typical airport SIM traps:
- Tourist-only bundles with far more data than you need, at 2–3× local prices.
- Activation fees that don’t exist in city stores.
- Short validity (for example, 7 days) so you have to top up again.
Here’s how I handle it now, in order of preference:
- Use an eSIM if my phone supports it.
Before flying, I check eSIM options (Airalo, Holafly, local operators, etc.) and compare them with local in-country prices. Often, a local eSIM from a domestic provider is cheapest, but even international eSIMs can beat airport tourist SIMs when you factor in time and hassle. It’s an easy way to avoid the worst airport SIM card price markups. - Buy a local SIM in town, not at the airport.
In many countries, the same operator sells a much cheaper prepaid plan in city shops or official kiosks. I’ll use airport Wi‑Fi to get into town, then buy a SIM at a mall or official store. - If I must buy at the airport, I set a “pain limit.”
I decide in advance:What’s the maximum I’m willing to overpay for instant connectivity?
If a plan is only slightly more expensive than in town, I might accept it for convenience. If it’s 3× the price, I walk away.
Questions I always ask at the counter:
- How many GB, and for how many days?
- Is hotspot/tethering allowed?
- Any activation or registration fee?
- Can I top up online or via an app later?
And I insist they:
- Show me the final price on a calculator or written down.
- Activate the SIM and show that data works before I pay or walk away.
Sometimes, the smartest move is to use airport Wi‑Fi, order a ride, get into the city, and sort a proper SIM there. A few hours without data is often worth the savings.
5. Airport Transport: How Much Is “Just Get Me to the Hotel” Worth?

Transport is where many people lose the most money on arrival. You’re tired, maybe jet-lagged, maybe it’s dark. You just want a bed. That’s exactly when overpriced taxis and private shuttles thrive.
This is where the airport taxi vs rideshare cost comparison really matters, along with knowing the cost of airport public transport in advance.
Know the ballpark price before you land
Before the trip, I quickly check:
- The airport website (it often lists official taxi and train fares).
- Google Maps or local transit apps for train/metro/bus prices.
- Ride-hailing apps (Uber, Bolt, Grab, etc.) for a quote to my hotel.
That gives me a mental range: Airport to city should cost about $5–$20, not $60.
It’s a simple airport transfer cost comparison that takes two minutes and can save a lot.
Common airport transport traps
- Unmetered taxis quoting a flat price 2–4× the normal rate.
- “Official” desks inside the terminal selling private transfers at luxury prices.
- Cash-only drivers who “don’t have change” for your big bill.
- Dynamic pricing on ride-hailing apps during peak times – sometimes more than a taxi.
My usual approach now:
- Check if there’s a train/metro/bus.
In many cities, the airport train or bus is by far the cheapest option and often faster than a taxi in traffic. If I’m comfortable with the route and it’s not too late at night, this is usually my first choice. - Compare ride-hailing vs official taxi.
I open the app and compare the quote to the official taxi rate (if posted). If they’re similar, I choose whatever feels safer and more convenient. Sometimes the app wins, sometimes the taxi does. - Agree the price before getting in.
If I have to take a non-metered taxi, I confirm the total price in local currency and repeat it back. If they hesitate or change the number, I walk away. It’s one of the simplest ways to avoid airport taxi scams. - Use card where possible.
Paying by card (or via an app) avoids theno change
game and lets me keep my small amount of cash for tips or emergencies.
One more thing: if you arrive late at night or in a place where you don’t feel comfortable using public transport, paying extra for a safe, pre-booked transfer can be worth it. Just make it a conscious decision, not a panicked one in the arrivals hall.
6. How Much Cash to Get Before You Fly vs On Arrival?
There’s no single right answer, but here’s the framework I use to avoid common arrival money mistakes.
I get some cash before flying when:
- I’m arriving late at night or at a smaller airport.
- I’m going somewhere where cards are less common.
- I know I’ll need cash immediately (tolls, small buses, tips).
In those cases, I might get the equivalent of $50–$150 from my bank or an online provider at home. Enough for day one, not enough to worry about losing.
I wait and get cash on arrival when:
- The destination is card-friendly (Europe, big Asian cities, etc.).
- There are plenty of bank ATMs at the airport.
- I have a good travel card and a backup card.
Then I’ll usually:
- Use my card for transport or ride-hailing.
- Withdraw from a bank ATM in town, where fees and rates are often better than in the terminal.
The key is to avoid two extremes:
- Exchanging everything at the airport and getting hit with huge markups.
- Arriving with zero plan and panicking into the worst possible deal.
If you decide in advance how much cash before
and how much via ATM later
, you’re already ahead of most travelers and most airport money traps.
7. A Simple Arrival Checklist to Avoid Airport Money Traps
When I land now, I mentally run through this quick checklist. It’s my personal airport arrival transport cost guide and money plan in one.
- Turn off airplane mode and connect to Wi‑Fi.
I check the real exchange rate and rough transport costs to the city. - Ask: can I pay for transport by card or app?
If yes, I skip the exchange counter entirely and avoid those hidden fees at airport currency exchange desks. - If I need cash, find a bank ATM.
I withdraw a modest amount, decline anyconversion
offers, and always choose to be charged in local currency. - Ignore “0% commission” signs.
If I absolutely must use a counter, I compare the posted rate to the real rate and exchange the smallest amount I can get away with. - For SIMs, compare airport vs town vs eSIM.
If the airport price is outrageous, I use Wi‑Fi, get into town, and buy a local SIM or eSIM there. - For taxis, know the ballpark price.
I use official taxis or apps, agree the fare in advance if there’s no meter, and pay in local currency.
Airports are designed to separate you from your money when you’re tired and not fully switched on. Once you recognise the patterns – bad exchange rates, fake no fee
offers, DCC prompts, tourist-only SIMs, and overpriced taxis – it becomes much easier to say no
and keep your cash for the actual trip.
The goal isn’t to dodge every single fee. It’s to avoid the unnecessary ones. If you can land, get online, reach your hotel safely, and only overpay by a few dollars instead of a few hundred, you’ve already won.