You land, clear immigration, grab your bag. You think the big expenses are done.
They’re not.
The first 2–3 hours in a new country are when a lot of budgets quietly fall apart. Airport transport, SIM cards, ATM fees, quick snacks, “convenience” charges – they all hit at once, right when you’re tired and just want to get to your bed.
This guide walks through the most common hidden arrival costs when traveling – and the choices I make to keep that first day from blowing my budget.
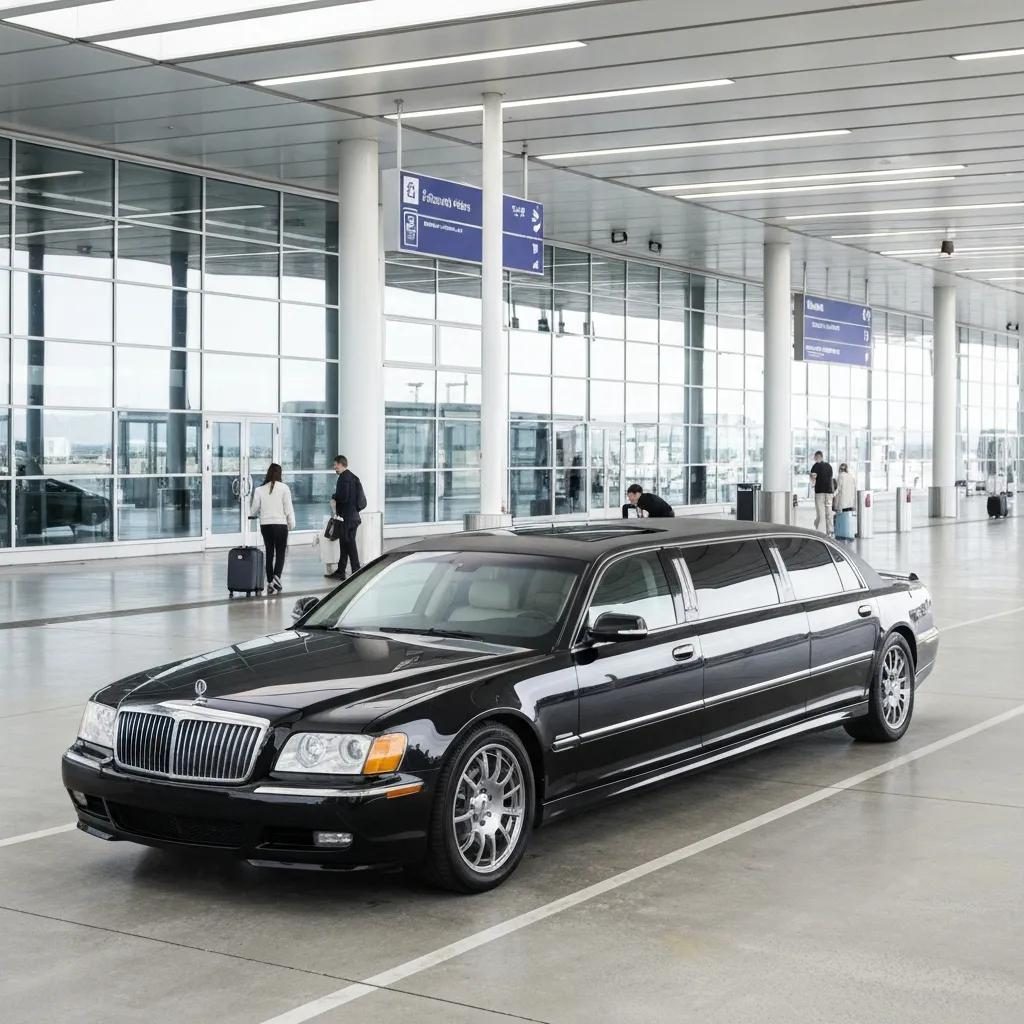
1. Airport Transport: The First Big Decision After You Land
That first ride from the airport is often the single most overpriced journey of your entire trip. You’re jet-lagged, you don’t know local prices yet, and everyone seems to be selling some kind of “official” transfer.
So I start with a simple airport transport cost comparison in my head the moment I land.
- What’s the real door-to-door cost? I don’t just look at the ticket price. I add up
airport train or bus + taxi + time
. A cheaper flight into a distant secondary airport can easily turn into an expensive mistake once I factor in a $30–$50 ride into town. - Is the taxi line a trap? At many airports, walk-up taxis cost 20–50% more than ride-hailing apps or pre-booked transfers. Sometimes there’s a fixed airport surcharge; sometimes it’s just opportunistic pricing aimed at tired arrivals.
- Is public transport realistic right now? A midnight arrival with two kids and three suitcases is not the moment to experiment with three different buses. But if I land during the day with just a backpack, the airport train or bus is usually the best value and often just as fast.
Here’s what I actually do:
- Before booking flights, I check how each airport is connected to the city. A slightly more expensive ticket into a better-connected airport can be cheaper overall once I factor in the airport taxi vs public transport price.
- Before I fly, I screenshot airport train/bus routes, prices, and where to buy tickets. I also check whether ride-hailing apps are allowed at arrivals, only at departures, or banned entirely.
- On arrival, I walk past the first wave of touts and glowing signs. I head for the official transport counter or machine, or the clearly marked taxi stand with posted fares.
The question I use to keep myself honest: If I had to repeat this trip 10 times, would I still choose this transport option?
If the answer is no, I’m probably overpaying for convenience I don’t really need.
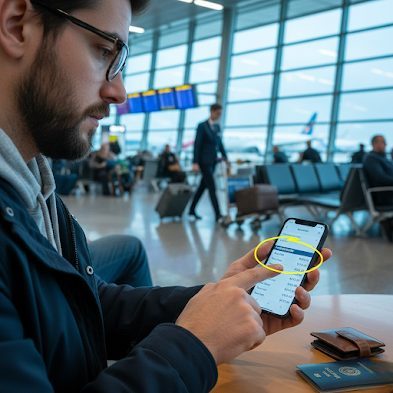
2. SIM Cards at the Airport: Convenience vs. Quiet Markups
Airport SIM counters exist for one reason: to catch you when you’re tired, slightly lost, and desperate for data. The plans are usually simple but overpriced compared with what you’d find in the city.
Typical airport SIM traps:
- Tourist-only bundles with way more data than you’ll ever use, at 1.5–3x the city price.
- Short validity (for example, 7 days) that forces you to top up again halfway through your trip.
- Activation or registration fees that only appear when you’re already at the counter.
The real question is simple: Do I actually need a local SIM the second I land? That’s where the real sim card at airport vs city center decision happens.
How I decide:
- If I arrive late at night or in a country where I don’t speak the language, I’m more willing to pay a small premium at the airport. Having data right away makes finding my hotel and transport much less stressful.
- If I arrive during the day and the city has straightforward transport, I usually wait and buy a SIM in town at a carrier store or supermarket. It’s almost always cheaper, and the staff tend to know what they’re doing.
- If my home carrier has a reasonable roaming plan (like a flat daily fee), I sometimes use that just for day one, then switch to a local SIM the next morning.
Before the trip, I do a quick check:
- See if an eSIM (through my phone or a third-party provider) beats the cost of buying a SIM card at the airport. For short trips, it often does.
- Search
local SIM card + city name
and skim a couple of recent posts or threads. I want to know which carrier has good coverage and what a normal price looks like so I can spot a bad deal. - Note any ID requirements (passport, local address, etc.) so I’m not surprised at the counter.
My rule of thumb: pay a small premium for day-one sanity, not a week-long penalty. If the airport SIM is only a bit more expensive and saves me hassle, I’ll take it. If it’s clearly inflated, I wait.
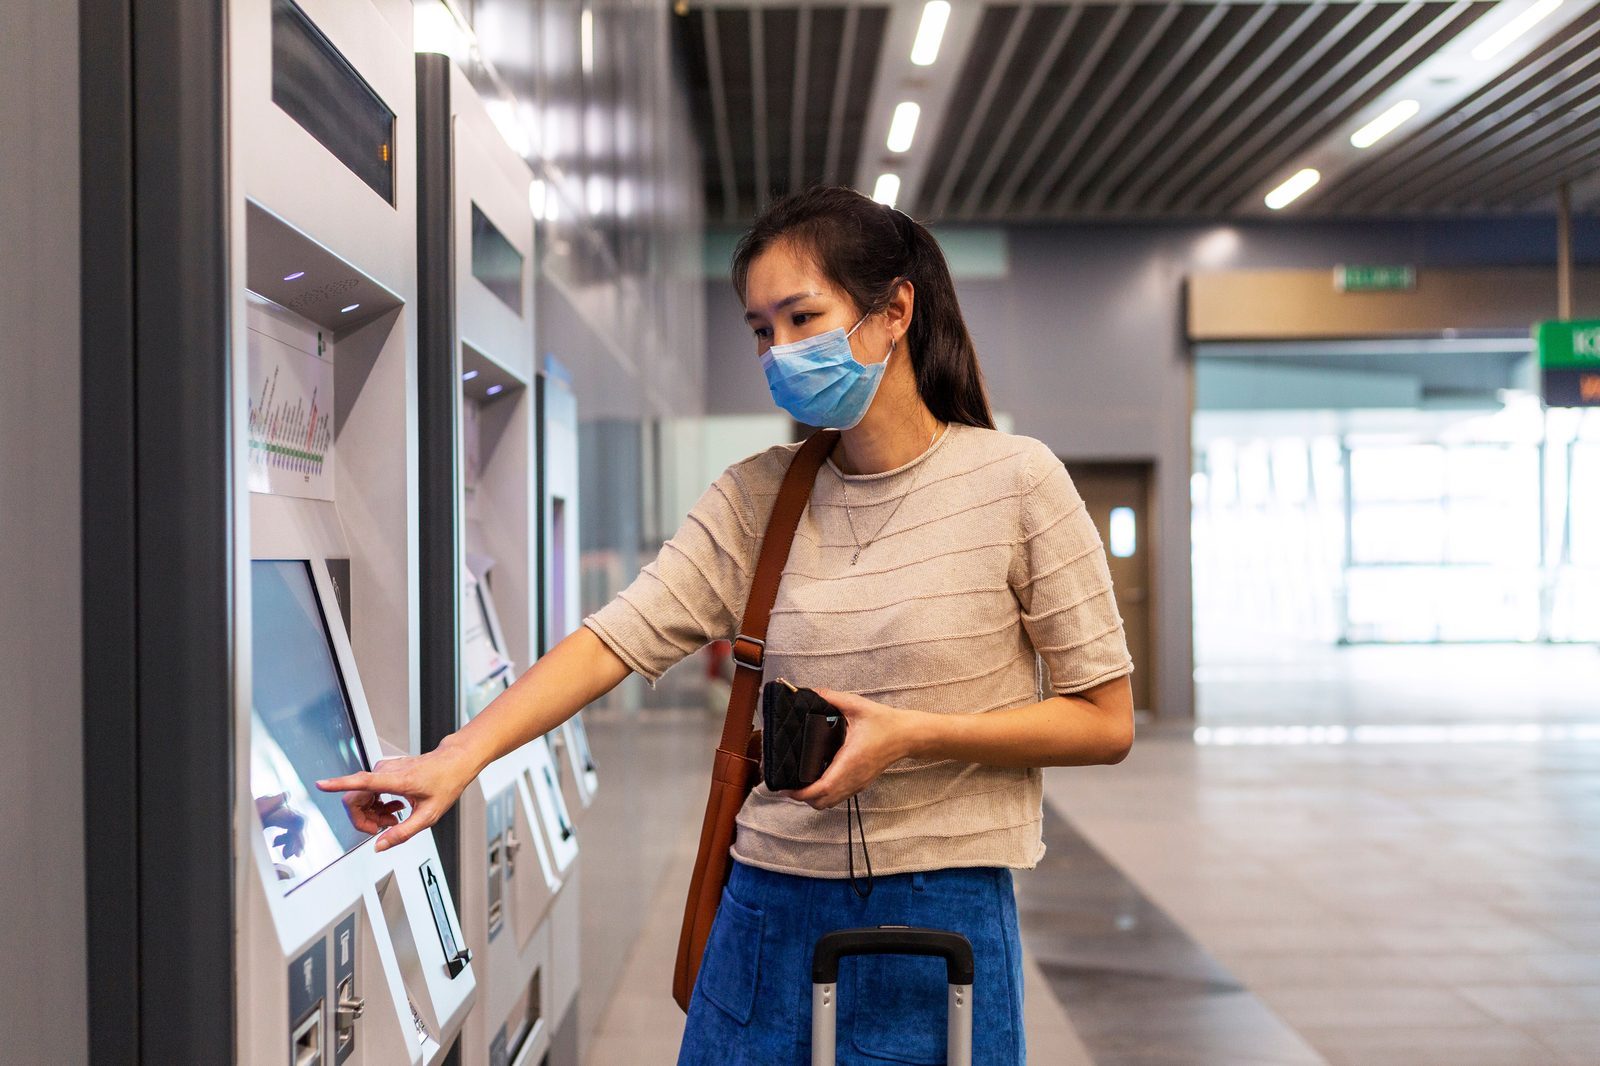
3. ATMs and Currency Exchange: The “Welcome to Our Fees” Moment
Right after the SIM decision comes the money decision: how to get local cash without feeding half of it to banks and airport operators.
Here’s what quietly drains your budget at arrival ATMs and exchanges:
- Dynamic Currency Conversion (DCC): the ATM or card terminal offers to charge you in your home currency
for your convenience
. The exchange rate is usually awful. I always choose to be charged in the local currency. - Per-withdrawal fees from your home bank: if your bank charges a flat fee per withdrawal, lots of small withdrawals add up fast. This is where cash withdrawal charges abroad really sting.
- Airport ATM surcharges: some machines add their own fee on top. It’s often buried in small text on the screen, right when you’re in a hurry.
To keep these international ATM withdrawal fees under control, I do this:
- Before the trip, I check my bank’s foreign ATM fees, foreign transaction fees, and daily limits. If they’re bad, I look at a low-fee travel card or online bank instead.
- On arrival, I aim for one decent-sized withdrawal at the airport – enough for transport and the first 24–48 hours. Later, I use city ATMs if they’re cheaper or have better terms.
- I always decline DCC and choose to be charged in the local currency, even if the ATM tries to scare me with warnings about “unknown rates.”
If I’m tempted to use a currency exchange counter instead of an ATM, I ask myself: Would I accept this rate if it were offered online?
If the spread is huge, I either walk away or change the bare minimum. When you compare airport money exchange vs ATM, the ATM usually wins – as long as you dodge the bad options.
4. Food, Water and “I’ll Just Grab Something” Purchases
By the time you’ve sorted transport, SIM, and cash, you’re hungry. This is where airports quietly make a fortune.
Food and drinks at airports are often marked up several times compared with city prices. Coffee can be 10–15% higher, basic sandwiches $10–$12, and a couple of snacks plus water can easily hit $20–$30 before you realize it.
Why it matters for your arrival day travel budget breakdown: if you’ve got a long transit or you’re waiting around for a bus or train into town, you can burn through a full day’s food budget before you even reach your hotel.
What I do differently now:
- Pack something small but real for arrival: nuts, a protein bar, or a simple sandwich from home or from the departure airport (which is sometimes cheaper). It doesn’t have to be fancy; it just has to stop me from panic-buying.
- Carry an empty reusable bottle and fill it after security or at a fountain on arrival. Buying bottled water at airports is one of the most consistent money leaks.
- Know which airports have “street pricing” policies (like Portland or Salt Lake City in the U.S.), where prices are capped close to city levels. If I’m flying through one of those, I’m less strict.
At the food court, I pause and ask: Am I actually hungry, or just tired and bored?
If it’s mostly fatigue, I drink water, eat the snack I brought, and wait until I’m in the city where prices – and options – are better.

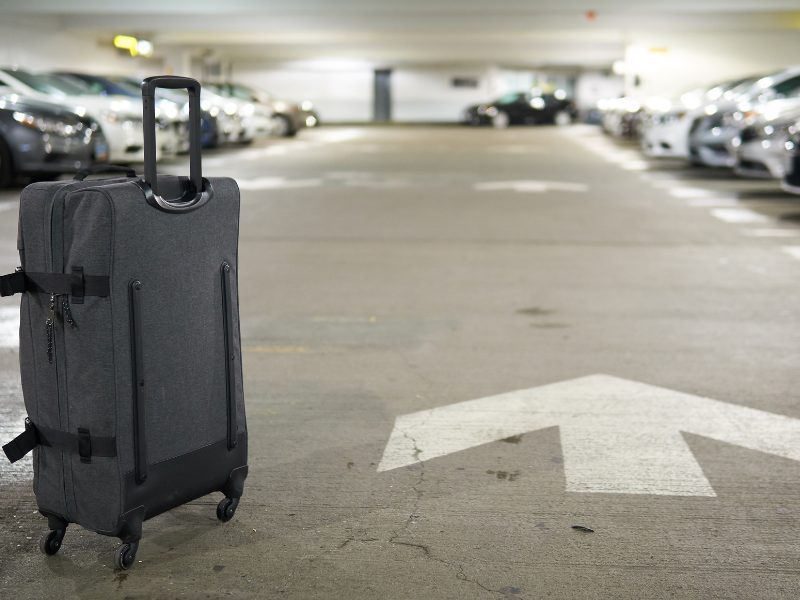
5. Baggage and Arrival: The Fees You Don’t See Until It’s Too Late
Baggage fees technically hit before you fly, but the real impact shows up at arrival. That’s when you’re dragging oversized luggage through an unfamiliar city and paying extra for taxis, porters, or storage.
Here’s how baggage choices quietly inflate your arrival costs:
- Overweight or oversized bags can cost $100–$200 each way. That’s money you could have spent on experiences instead of kilos.
- Too many bags push you into larger taxis or even multiple rides, especially in cities where small cars dominate.
- Heavy, awkward luggage makes public transport unrealistic, which forces you into more expensive private transfers.
So I start cutting these costs before I even leave home:
- Use a cheap luggage scale and aim to be a few kilos under the limit, not right on the edge.
- Pack with arrival in mind and ask:
Can I comfortably carry this bag up a flight of stairs or onto a bus after 12 hours of travel?
- Check whether my airline or credit card offers free checked bags. Sometimes paying $20 more for a ticket that includes a bag is cheaper than a $40–$60 bag fee at the airport.
At the carousel, I remind myself: every extra bag is another decision and another potential cost once I step outside the airport.

6. Parking, Drop-Offs and the “I’ll Just Drive to the Airport” Habit
Hidden arrival costs don’t just start when you land. They start at your departure airport – and they follow you home.
On-site airport parking has quietly become a major profit center. Daily rates creep up, and a week-long trip can turn into a three-figure parking bill without you really noticing.
Here’s how I handle it now:
- Compare on-site vs. off-site parking before I book flights. Off-site lots, park-and-ride services, or even a rideshare to the airport can be much cheaper once you add everything up.
- Factor parking into the “which airport?” decision. A slightly more expensive flight from an airport with cheap parking or good public transport can be cheaper overall than a “bargain” fare from an airport that forces you into expensive parking.
- Think about the return: landing late at night and then driving home after a long-haul flight isn’t just a cost issue; it’s a safety issue. Sometimes a hotel with park-and-fly or a train ride home is the smarter choice.
When I’m about to book parking, I ask: If this were a line item on my flight ticket, would I still choose this option?
Seeing it as part of the total trip cost makes it easier to choose differently.
7. A Simple Arrival Checklist to Protect Your Budget
To keep all of this manageable, I use a simple mental checklist for every trip. It turns a chaotic arrival into a series of calm, deliberate choices instead of a blur of common airport arrival money mistakes.
Before the trip:
- Check airport transport options and prices; screenshot the ones I’m likely to use so I can quickly compare airport taxi vs public transport price on arrival.
- Decide: eSIM, airport SIM, or city SIM – and note typical prices so I don’t overpay for convenience.
- Review my bank’s foreign ATM fees, foreign transaction fees, and daily limits.
- Weigh my bags and aim under the limit; remove a few items if I’m close.
- Plan how I’m getting to and from my home airport (parking vs. public transport vs. rideshare) and include it in my total trip cost.
On arrival:
- Walk past the first wave of touts and unofficial offers; head to official transport or ticket counters.
- Decide calmly: pay a small premium for an airport SIM now, or wait for a better deal in the city.
- Use an ATM once, decline DCC, and withdraw enough for the first 24–48 hours instead of lots of small withdrawals.
- Eat what I brought, drink water, and avoid impulse food buys until I’m in the city where prices are normal.
When you start treating arrival as a series of small but deliberate choices, those hidden fees stop being invisible. And once you see them, they’re surprisingly easy to shrink.
Next time you land somewhere new, pause for a second and ask: What’s the real cost of the next 2 hours?
Answer that honestly, and your budget – and your future trips – will feel the difference.