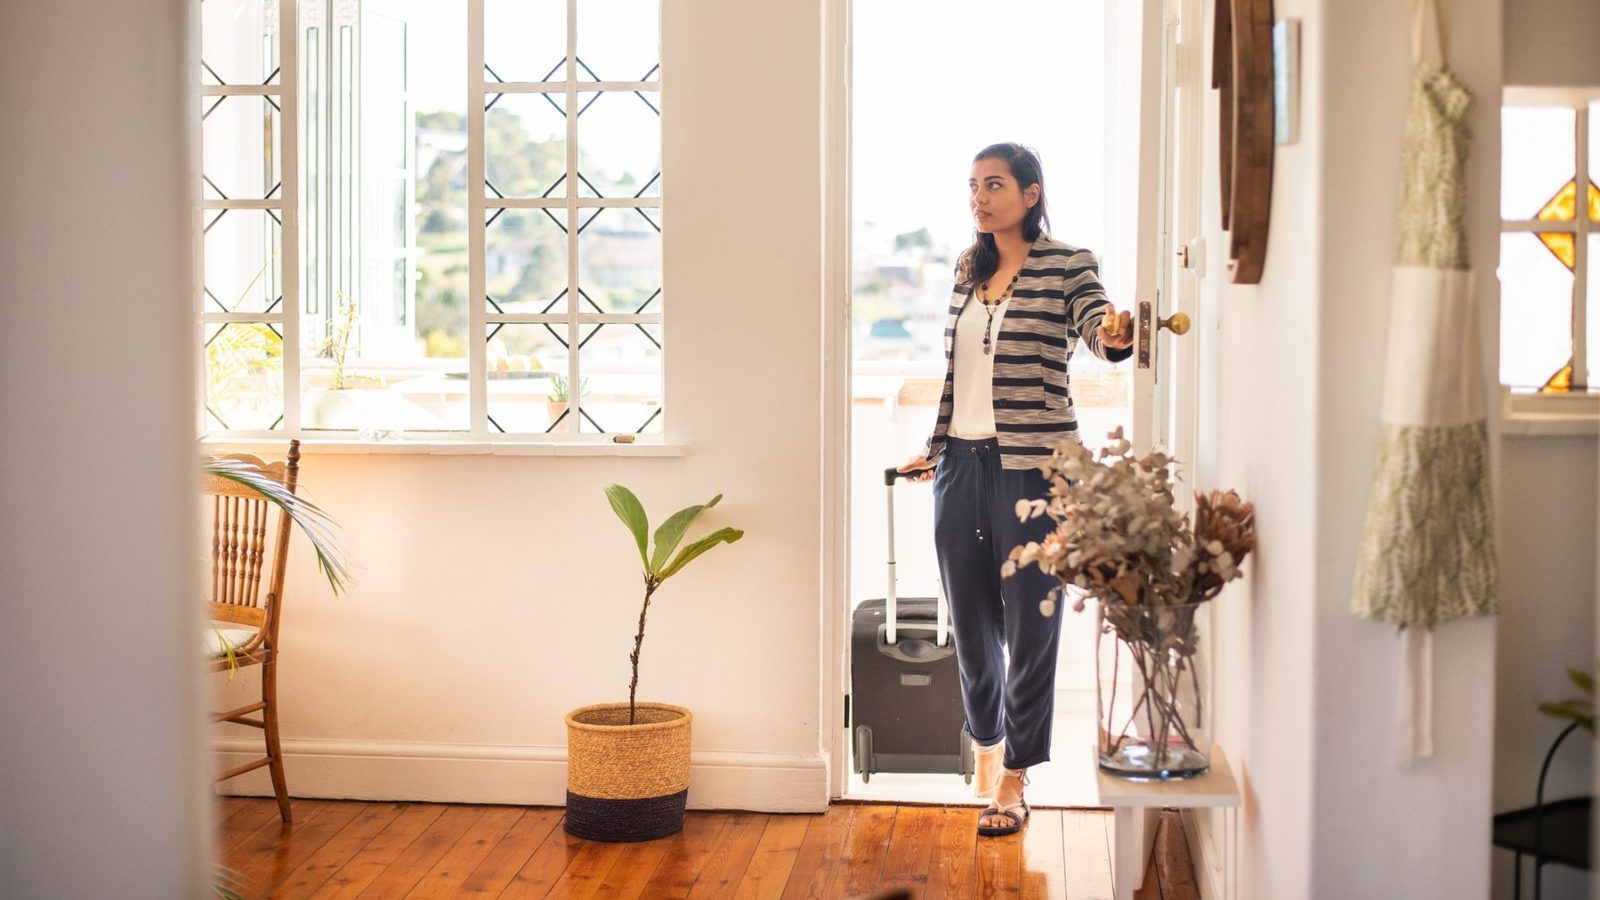
I used to think I was pretty good with money on the road. Then I added up the fees from one three-week trip: ATM charges, foreign transaction fees, and sneaky currency conversion markups. I’d tipped my bank more than I’d tipped actual humans.
If you’ve ever had that sinking feeling when you see your statement after a trip, this guide is for you. Here’s how I now build a no-fee travel wallet before every international trip: the right mix of cards, cash, and apps that keeps my money working for me, not for the banks.
Think of this as a system, not a single magic card. Once it’s set up, you can land almost anywhere, tap or withdraw with confidence, and know you’re not bleeding 3–10% on every transaction in hidden travel banking costs.
1. Start With the Big Leak: Foreign Transaction Fees on Cards
Let’s start with the easiest win. Most standard credit and debit cards quietly add 1–3% foreign transaction fees every time you pay in a non-home currency. On a $5,000 trip, that’s up to $150 for… nothing.
My rule now is simple: no foreign transaction fee, no swipe.
If a card charges FX fees, it stays home. That one rule alone changed the cost of using a card abroad for me.
Here’s how I structure my no fee travel wallet for card payments:
- Primary card: A credit card with 0% foreign transaction fees and solid rewards (ideally travel points or cash back). This is my default for hotels, restaurants, tickets, and anything I might need to dispute if something goes wrong.
- Backup card: Another no-FX-fee card from a different issuer and network (e.g., Visa + Mastercard). If one bank freaks out about “suspicious activity” or a network is down, I’m not stranded at the checkout.
- Debit card: Only for ATMs, and only if it’s travel-friendly (more on that in the next section).
Then there’s the trap that can wipe out all those savings in one tap: Dynamic Currency Conversion (DCC).
Any time a terminal or ATM asks whether you want to pay in your home currency (USD, GBP, etc.) or the local currency, I always choose local. DCC often hides a 3–10% markup on top of everything else. You’re basically paying extra for the privilege of seeing a familiar currency on the screen.
Takeaway: Build your wallet around no-FX-fee credit cards, always pay in the local currency, and be wary of dynamic currency conversion traps. Otherwise, you’re starting every transaction in the red.
2. Fix the ATM Problem: Cash Without the Punishing Fees
Cards are great, but you’ll still need cash: street food, small taxis, markets, tips, and places that just don’t care about your fancy tap-to-pay card.
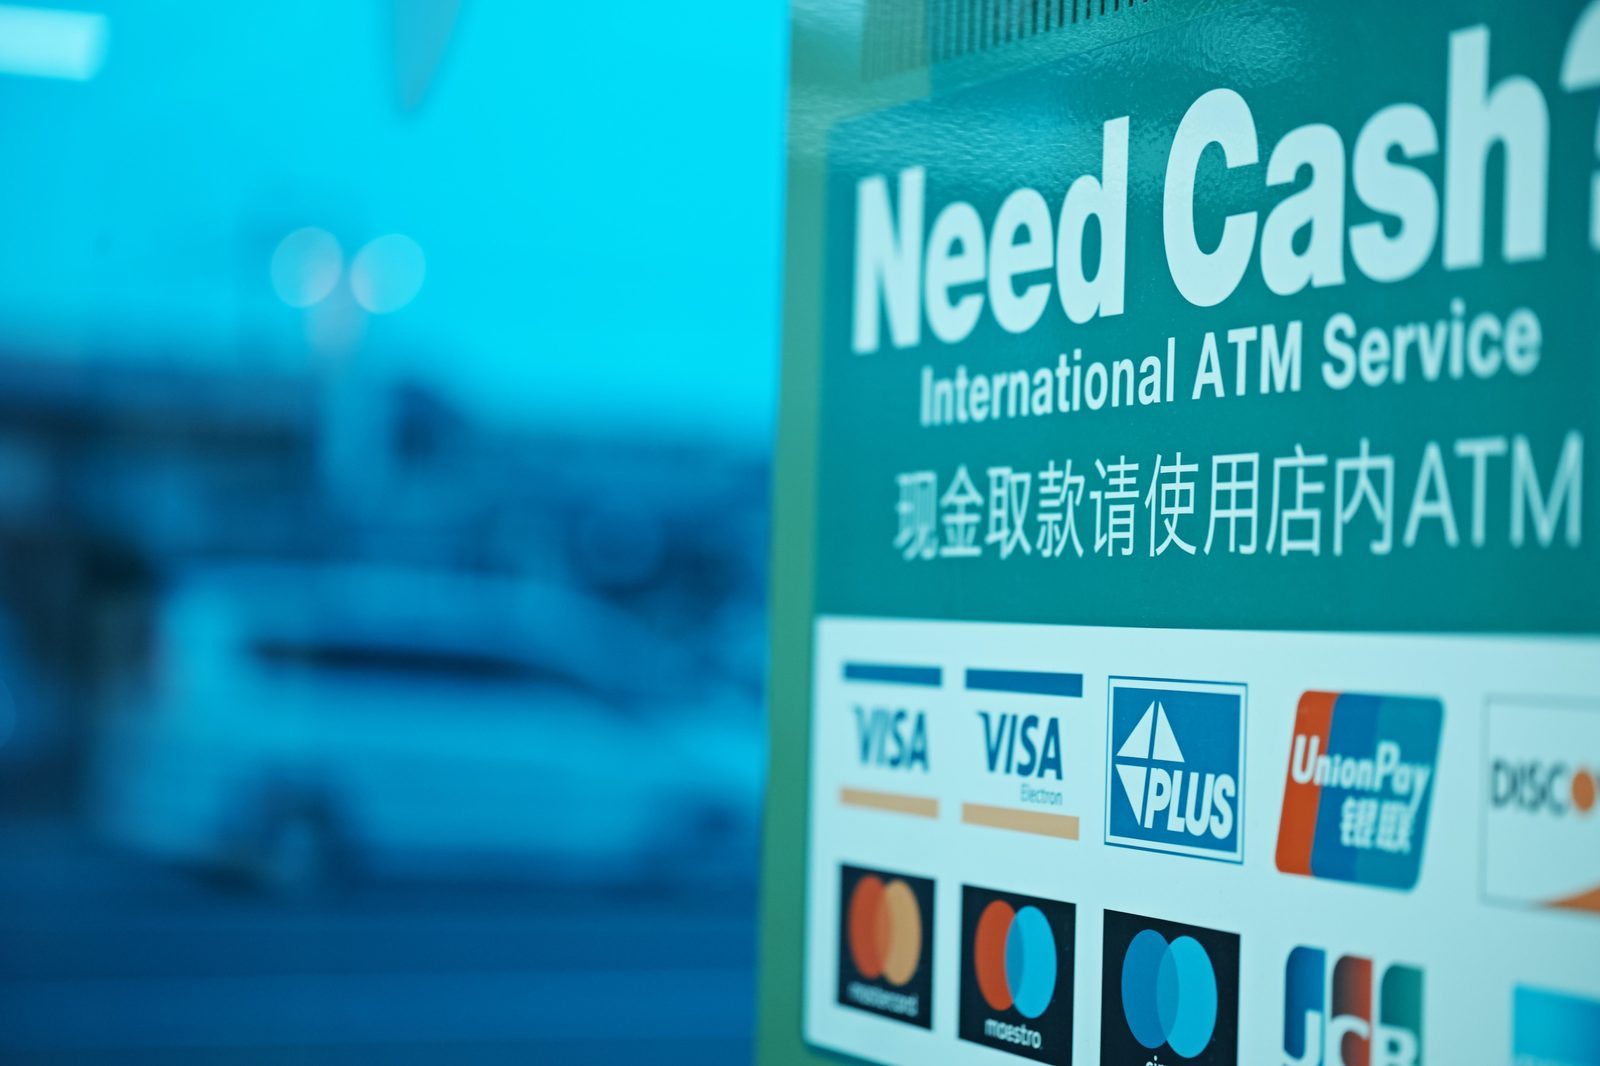
The problem is that ATM fees abroad are often stacked:
- Your home bank’s out-of-network ATM fee
- The foreign ATM operator’s flat fee (often $3–$7)
- A foreign transaction fee on top of the withdrawal
- And sometimes a nasty DCC markup if you accept conversion to your home currency
Do that a few times with small withdrawals and you can easily burn through $100+ in fees on a single trip. I’ve done it. Once.
Now I use a dedicated travel debit card that either reimburses ATM fees or doesn’t charge them in the first place. Options often mentioned by travelers include accounts like Charles Schwab Investor Checking, Fidelity Cash Management, Betterment Checking, and some credit unions. Multi-currency fintech cards like Wise and Revolut can also be powerful tools when used correctly as part of a low fee travel debit card setup.
What I look for in a travel debit card:
- No foreign transaction fees on withdrawals
- ATM fee reimbursements or very low ATM fees
- On a major network (Visa, Mastercard, Plus, Cirrus) for global access
- Good app controls: freeze card, change PIN, instant alerts
Then I change my behavior to match my foreign ATM fee strategy:
- Withdraw larger amounts less often. One $300 withdrawal with a $5 fee is better than three $100 withdrawals with three $5 fees.
- Use bank ATMs, not tourist ATMs. I look for machines inside actual bank branches, not the bright-blue box next to the souvenir shop.
- Decline ATM conversion. When the ATM offers to charge me in my home currency, I hit
Decline conversion
and let my bank handle the FX at a fairer rate.
Takeaway: A single good no-fee or fee-reimbursing debit card plus smarter withdrawal habits can save you more than most travel hacks. It’s one of the simplest ways to reduce bank fees when traveling.
3. Add a Digital Wallet Layer: Multi-Currency Apps That Actually Help
Cards and ATMs are the foundation. But adding a digital wallet or multi-currency app makes the whole system more flexible and safer.
Why bother with another app? Because the right one lets you:
- Hold multiple currencies (EUR, GBP, JPY, etc.) and pay directly in them
- Often get better FX rates than your traditional bank
- Use virtual cards for risky online payments or one-off bookings
- Lock and unlock cards instantly if something feels off
Services like Wise, Revolut, and specialized wallets (for example, Jeton in some regions) are built for this. You can preload funds, convert when rates look good, and then spend or withdraw in local currency without constantly bouncing back to your home currency. It’s a nice way to cut currency conversion costs without overthinking it.
How I use a multi-currency wallet in practice:
- Before the trip: I verify my account fully (to unlock higher limits), then move in a chunk of money I’m comfortable keeping there.
- For multi-country trips: I hold a bit in each major currency I’ll use, so I’m not converting USD → EUR → USD → GBP over and over.
- For security: I use virtual cards for online bookings with unknown companies, and keep my main credit card details away from random websites.
Is this mandatory? No. But if you travel often or hop between countries, a good digital wallet becomes a kind of control center for your travel money. It also makes any travel money apps comparison much easier once you see how you actually spend.
Takeaway: A multi-currency wallet isn’t a replacement for your bank, but it’s a powerful buffer between your main accounts and the messy real world of travel payments.
4. Decide Your Cash Strategy: How Much, Which Currency, and Where to Keep It
Cash is where people either overdo it or underdo it.
Some travelers land with $1,000 in local currency they bought at a terrible rate at home. Others arrive with nothing and panic when the first three ATMs at the airport are out of service. Both approaches make your international travel budget fees higher than they need to be.
I aim for a middle path.
How much cash?
- In highly card-friendly places (e.g., much of Western Europe, UAE, Singapore): I start with the equivalent of $50–$150 in local cash.
- In more cash-heavy regions or rural areas: I might aim for $200–$300 to start, then top up as needed.
Then I adjust based on reality on the ground. If every café and bus takes cards, I slow down my ATM visits. If I keep seeing cash only
signs, I increase my buffer.
Which currency?
- Local currency: For everyday spending. I get this from ATMs, not airport exchange kiosks.
- Home currency (e.g., USD): I keep a small emergency stash (maybe $100–$200) hidden separately from my main wallet. This is for worst-case scenarios: cards blocked, ATMs down, border crossings, or paying someone who prefers a strong foreign currency.
Where do I keep it?
- Split it up. Some in my day wallet, some in a money belt or hidden pocket, some in my bag. I never carry all my cash in one place.
- Don’t hoard too much. Every dollar in cash is a dollar not earning rewards or protected by card dispute rights.
Takeaway: Cash is a tool, not a comfort blanket. Hold enough to function if cards fail, but not so much that losing your wallet ruins your trip.
5. Build Redundancy: Backups for When Things Go Wrong
A no-fee travel wallet isn’t just about saving money. It’s about not being financially stranded in another country because one system hiccuped.
I assume that on any given trip, at least one of these will happen:
- A card gets lost or stolen
- A bank flags a transaction and locks my card
- An ATM eats my card
- A network (Visa/Mastercard) has issues in a specific region
So I design my wallet with failure in mind. Think of it as insurance for your best payment mix abroad:
- At least two credit cards from different issuers and networks (e.g., Chase Visa + Amex, or Citi Mastercard + Capital One Visa).
- At least two debit cards, ideally from different banks or fintechs. If one bank’s fraud system goes overboard, I still have access to cash.
- One digital wallet with a virtual card I can spin up quickly if I need a fresh number.
- Emergency cash in home currency, stored separately.
I also do a few boring but crucial things before I leave:
- Confirm my PINs and make sure all cards are chip-enabled.
- Enable travel notifications or at least turn on real-time alerts in my banking apps.
- Save my banks’ international phone numbers somewhere offline.
Takeaway: If your entire travel budget depends on one card and one bank, you don’t have a travel wallet. You have a single point of failure.
6. Daily Habits That Quietly Save You Hundreds
Once your wallet is set up, the ongoing savings come from small, repeatable habits. They don’t feel dramatic, but they compound over a trip.
Here’s what I do almost automatically now to avoid foreign transaction fees and other hidden costs:
- Always pay in local currency. At shops, restaurants, and ATMs, I decline any offer to charge me in my home currency. DCC is almost never in my favor.
- Use credit for purchases, debit for cash. Credit cards (with no FX fees) for anything I can swipe or tap; debit cards only at ATMs.
- Avoid currency exchange kiosks. Especially at airports and tourist zones. Their rates are usually worse than ATMs, even with ATM fees.
- Check ATM screens carefully. Some ATMs try to hide bad rates behind friendly language. If the rate looks terrible or the fee is outrageous, I cancel and find another machine.
- Monitor accounts in the app. I glance at my transactions every day or two. It’s easier to dispute a weird charge quickly than months later.
- Withdraw during the day, in safe locations. Inside bank branches or well-lit areas, not random street corners at midnight.
None of this is glamorous. But this is where the real money is saved, and where you quietly optimize cards and cash for travel without thinking too hard about it.
Takeaway: The right cards and apps set the stage. Your daily habits decide whether you actually keep the savings.
7. Putting It All Together: Your No-Fee Travel Wallet Blueprint
Let’s turn this into something you can actually build before your next trip.
Your pre-trip checklist
- Pick your primary credit card.
– No foreign transaction fees
– Good rewards on travel/dining or general spend
– Works well for the classic credit card vs cash overseas balance - Add a backup credit card.
– Different issuer and network if possible
– Also no FX fees - Choose 1–2 travel debit cards.
– No or low foreign transaction fees
– ATM fee reimbursements or low ATM fees
– Strong app controls (freeze, alerts, PIN reset) - Set up a multi-currency wallet (optional but powerful).
– Verify your account
– Load a reasonable amount
– Create a virtual card for online bookings - Plan your cash strategy.
– Decide how much local cash you’ll need on arrival
– Bring a small emergency stash of home currency
– Plan to use ATMs (not kiosks) for local cash - Harden your setup.
– Enable alerts and travel notifications
– Save bank contact numbers offline
– Test all cards with small transactions before you go
Once you’ve done this once, you don’t rebuild it from scratch for every trip. You just tweak it: maybe add a new card, adjust your cash levels, or lean more on a multi-currency wallet if you’re bouncing between countries.
The goal isn’t perfection. It’s to stop leaking money on things that add zero value to your trip. No one comes home saying, I’m so glad I paid my bank an extra 3% on everything.
Build your no-fee travel wallet once. Then let your money go where it should: toward the experiences you actually care about, not hidden travel banking costs and avoidable fees.