Cost Guide Focus: Why Delay-on-Make vs Delay-on-Break Is a Business Decision, Not Just a Wiring Choice
Time delay relays look small and cheap, but your choice between Delay-on-Make (DOM / On-Delay) and Delay-on-Break (DOB / Off-Delay) affects cost, reliability, and even liability. If you misunderstand how these relays behave in real circuits, you can end up with short-cycling motors, nuisance service calls, and equipment that users think is unreliable.
This article works as a cost and risk guide. Each section walks through a decision or trade-off you face when you specify or wire time delay relays. The focus is on how you control the cost of delay (how long equipment stays off or on) and the cost of mistakes (miswired relays, early failures, or unsafe motion).
We stay within what the technical material supports. No invented performance numbers. No guessed failure rates. Instead, we look at how the known behaviors of DOM and DOB relays turn into real economic and operational consequences.
Decision 1: Delay-on-Make vs Delay-on-Break – Which Cost Profile Fits Your Application?

Your first decision is whether your application needs a Delay-on-Make (DOM) or Delay-on-Break (DOB) relay. Both are mature and reliable, but they create different timing behavior. That means different cost and risk profiles.
How Delay-on-Make (DOM / On-Delay) Behaves
A DOM relay delays activation of its output contacts after you apply the control signal. In practice:
- Control signal applied (for example, thermostat closes, door switch closes).
- Relay waits for the set time interval.
- After the delay, contacts change state and power the load.
You usually use this to enforce a minimum off-time before a motor or fan can restart. That helps reduce short cycling.
How Delay-on-Break (DOB / Off-Delay) Behaves
A DOB relay delays deactivation of its output contacts after you remove the control signal. In practice:
- Control signal applied: contacts change state right away and power the load.
- Control signal removed (for example, button released, door closed).
- Relay keeps the load powered for the set time interval, then turns it off.
You use this for timed run-on, such as keeping a fan running after someone turns off a light switch.
Cost and Behavior Trade-offs
DOM and DOB are mirror images in timing behavior. Choosing the wrong one rarely destroys hardware, but it can create costly side effects.
- DOM (Delay-on-Make)
- Benefits: Protects motors and compressors from rapid cycling; reduces mechanical wear; fewer nuisance trips from inrush currents.
- Costs: Slower response to user input; if the delay is too long, users may feel the system is laggy.
- DOB (Delay-on-Break)
- Benefits: Gives smooth run-on; improves comfort (for example, continued ventilation); can remove the need for a separate control system.
- Costs: Equipment runs longer after input is removed, so energy use goes up; if users do not expect this, it can look stuck on.
Manufacturers do not always use the same names (DOM vs On-Delay, DOB vs Off-Delay), so mis-specification is common. The real economic hit is not the relay price. It is the callbacks, rework, and user frustration when the system behaves opposite to what people expect.
Decision 2: Single-Function vs Multifunction Relays – Paying for Flexibility vs Simplicity
Once you know whether you need DOM or DOB behavior, you choose between a single-function relay (one timing mode) and a multifunction relay (several timing modes selectable on the device).
Single-Function Relays: Lower Unit Cost, Higher Design Commitment
Single-function relays provide one timing behavior, such as DOM or DOB. They usually cost less per unit and are simple to set up. You pick the time range and you are done.
Advantages:
- Lower purchase cost per relay.
- Simple configuration: fewer selector switches and fewer ways to set it wrong.
- Technicians can often tell the behavior from the part number or label.
Disadvantages:
- Less flexible: if you change from DOM to DOB, you may need a different part.
- More inventory complexity: you must stock several part numbers for different timing functions.
- Harder to reuse in other projects with different timing needs.
Multifunction Relays: Higher Flexibility, Higher Configuration Risk
Multifunction relays can do DOM, DOB, and sometimes more complex timing modes. Many also support universal AC/DC supply voltages and several time ranges.
Advantages:
- One part can cover many use cases (DOM, DOB, and others).
- Less inventory: fewer SKUs to manage.
- Handy for troubleshooting or retrofits when you do not know the exact timing behavior in advance.
Disadvantages:
- Higher unit cost.
- More complex selector settings and timing diagrams to read.
- Higher risk of misconfiguration (wrong mode or wrong time range selected).
Economic Trade-off: Hardware Cost vs Configuration Complexity
The material stresses that hardware failure rates are very low. Many field problems come from selection or wiring mistakes. That shifts the economic focus.
- Single-function relays cut configuration mistakes but can raise inventory and redesign costs.
- Multifunction relays cut inventory but raise the chance that a technician picks the wrong mode or misreads the timing diagram.
In standardized, repeatable designs (for example, a product line of HVAC units), single-function relays often win. In varied or changing environments (for example, custom control panels or retrofits), multifunction relays can lower total cost, as long as technicians know how to read the timing diagrams.
Decision 3: Understanding Terminal Groups – Preventing Costly Wiring Errors
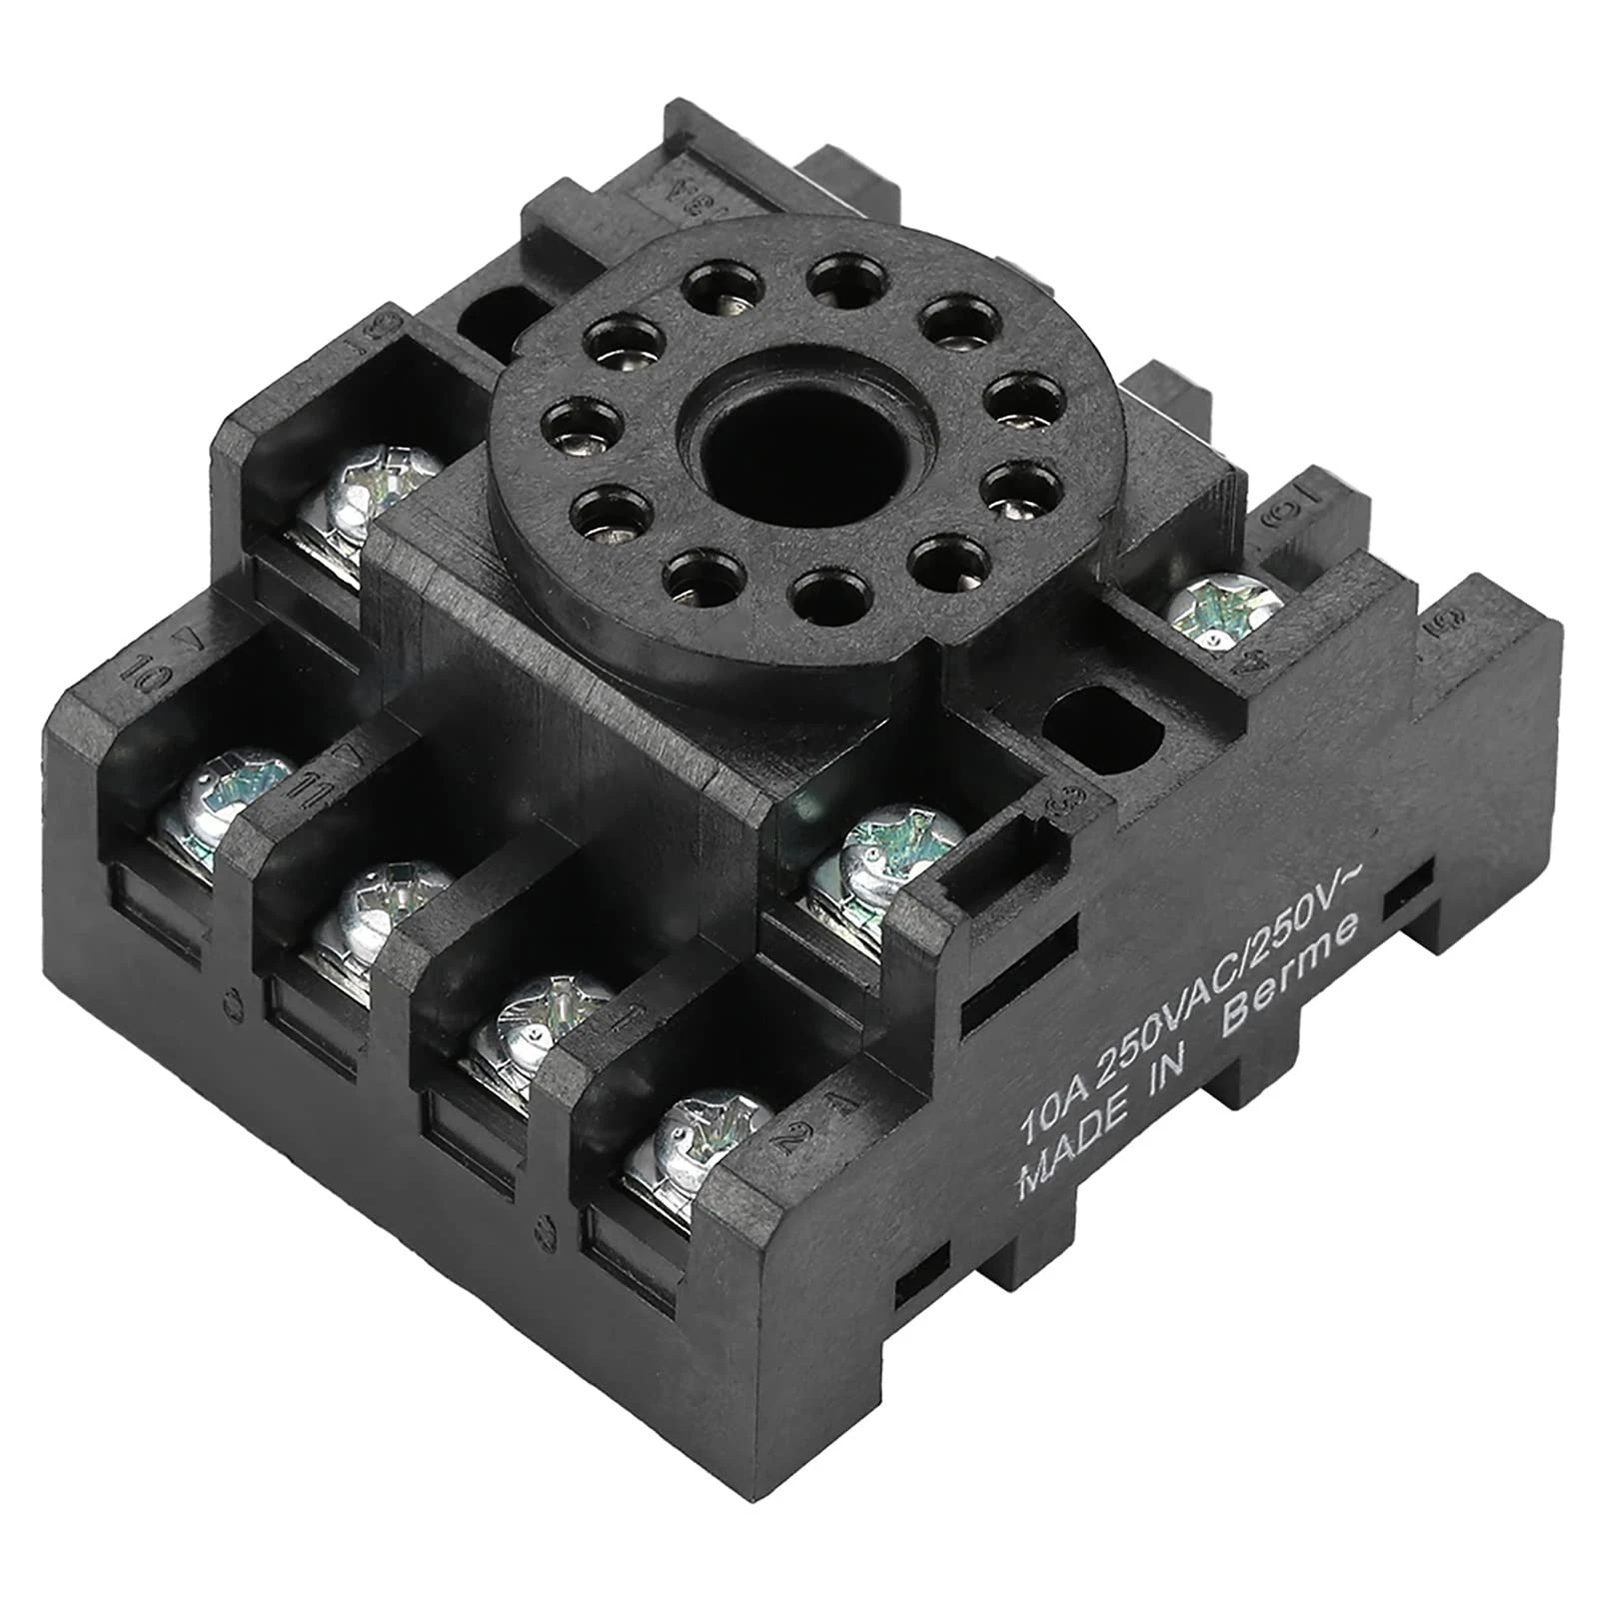
Time delay relays are not simple black boxes. The wiring guide splits them into three terminal groups. Misunderstanding these groups is a common cause of strange behavior that people then blame on bad relays.
Three Terminal Groups and Their Roles
- Supply terminals (A1 / A2): Power the timing electronics. They must match the relay’s rated control voltage (for example, 24 V AC/DC, 120 V AC).
- Control input (B1 / Y1 / Y2, depending on manufacturer): Optional start or trigger input that starts the timing function.
- Load contacts (15–16–18, 25–26–28, etc.): The relay’s output contacts that actually switch the load.
If you misread these terminals, the relay may never start timing, never release, or seem to behave randomly.
Common Wiring Mistakes and Their Costs
- Supplying the wrong voltage to A1/A2: The relay may not work at all, or you may damage it. The cost is replacement parts and diagnostic time.
- Ignoring the control input: Some timing modes need a separate trigger on B1/Y1/Y2. If you leave this open, the relay may never start timing. It then looks stuck and leads to wasted troubleshooting.
- Misreading IEC contact numbering: If you confuse common (15), normally open (18), and normally closed (16), you can invert the system logic. Loads may run when they should be off, or stay off when they should run.
Decision: Invest in Documentation and Training vs Accept Higher Field Error Rates
The hardware is robust. The main risk is human error. You have a choice.
- Invest in clear internal documentation and training on A1/A2, B1/Y1/Y2, and 15–16–18 conventions, or
- Accept more miswiring, callbacks, and no fault found relay replacements.
For teams with many technicians or high staff turnover, the upfront cost of training is usually lower than the long-term cost of repeated miswiring and misdiagnosis.
Decision 4: Achieving Break-Delay-Make Behavior – One Relay vs Multi-Relay Solutions
Many users want a relay that will break one circuit, wait a set time, then make another circuit. This is a break-delay-make sequence. The material makes it clear that standard relays are two-state devices and are mostly break-before-make by design. To get a clear delay between break and make, you usually need more than one simple relay.
Why a Single Standard Relay Is Usually Not Enough
Standard DOM and DOB relays can delay activation or deactivation of their own contacts. They do not give you a built-in, independent break-then-wait-then-make sequence between two separate outputs. They are meant to switch one set of contacts with a timing function, not to run a multi-step sequence.
Alternative Approaches and Their Trade-offs
To build a break-delay-make sequence, you usually look at three options:
- Two relays plus simple control wiring:
- One relay handles the break event; another handles the delayed make.
- Pros: Uses standard, low-cost relays; easy to replace single parts.
- Cons: More wiring, more panel space, and more points of failure.
- Multifunction timing relay with appropriate mode:
- Some advanced timers offer modes that approximate break-delay-make behavior.
- Pros: Single device; cleaner panel layout.
- Cons: Higher cost; more complex setup; you must read the timing diagrams carefully.
- Programmable logic (PLC or logic module):
- Use a small logic controller to create any timing sequence you want.
- Pros: Maximum flexibility; easy to change behavior in software.
- Cons: Highest upfront cost; needs programming skills; often overkill for simple jobs.
Cost and Maintainability Considerations
The source material does not give hard cost numbers, so we stay qualitative.
- Two-relay solutions keep part cost low but add wiring complexity and troubleshooting time.
- Multifunction timers cut wiring but add configuration complexity and the risk of misreading timing diagrams.
- PLC-based solutions centralize logic and are easy to change later, but they need specialized skills and higher initial spend.
For small, repeated applications (for example, projector screens or simple motor interlocks), two-relay or multifunction timer setups are usually more economical. PLCs make sense when timing is part of a larger control strategy that already justifies a controller.
Decision 5: Balancing Delay Settings Against Equipment Protection and User Experience
After you choose DOM or DOB and pick the hardware, you still must set the delay time. Here the cost of delay becomes very real. If the delay is too short, you risk equipment damage. If it is too long, you hurt user experience or waste energy.
Delay-on-Make: Minimum Off-Time vs Responsiveness
DOM relays often protect motors, compressors, and fans from short cycling. You balance two goals.
- Longer delay:
- Pros: More protection against rapid restarts; less mechanical wear; fewer nuisance trips.
- Cons: Slower response to new demand; users may feel the system is not reacting.
- Shorter delay:
- Pros: Faster response; better perceived performance.
- Cons: Higher risk of short cycling; possible overheating or early failure.
The source material does not give specific times. You need to follow the equipment manufacturer’s guidance for minimum off-times. The relay simply enforces the policy you choose.
Delay-on-Break: Run-On Time vs Energy Use
DOB relays keep equipment running after you remove the control signal. Again, you balance two sides.
- Longer run-on:
- Pros: Better ventilation or cooling; smoother shutdown; improved comfort.
- Cons: Higher energy use; users may think the system is faulty if it runs too long.
- Shorter run-on:
- Pros: Lower energy use; behavior closer to what users expect.
- Cons: Less effective post-run cooling or ventilation.
Using a Structured Approach to Set Delays
Because the source material does not give numeric guidance, a simple, structured approach helps.
- Start with the equipment manufacturer’s recommendations for minimum off-time or run-on time.
- Set the relay to slightly exceed these minimums to allow for tolerances.
- Check behavior in the field (see the testing section below) before you roll out at scale.
Decision 6: Standardized Naming vs Cross-Brand Confusion – Managing Specification Risk
Another key decision is how you handle inconsistent naming between manufacturers. The same timing behavior might be labeled DOM, On-Delay, or shown only as a symbol. DOB might appear as Off-Delay or with a different symbol. Terminal labels (B1, Y1, Y2) also change by brand.
Risk: Mis-Specification When Switching Brands
When you swap in a relay from another manufacturer and assume the names and symbols match, you risk several errors.
- Picking a relay with the wrong timing function (DOM instead of DOB, or the reverse).
- Misreading whether the relay needs an external control input.
- Misunderstanding terminal functions and creating wiring errors.
These mistakes often show up as systems that behave backwards or not at all. That can trigger unnecessary hardware replacements.
Mitigation Strategy: Internal Translation and Checklists
The source material does not give a universal map between brands. So the practical fix is procedural.
- Create an internal reference that maps your standard timing functions (DOM, DOB, etc.) to each vendor’s names and symbols.
- Require technicians to check timing diagrams and terminal functions on the datasheet before they approve substitutions.
- Use checklists that ask directly: Is this On-Delay or Off-Delay? Does it need an external trigger input?
This adds a small amount of admin work but cuts the risk of mis-specification when you change suppliers or part numbers.
Risk and Uncertainty: Failure Modes, Misdiagnosis, and Field Validation
Time delay relays often get the blame when systems misbehave. The material notes that manufacturers test every unit and report very low failure rates. That suggests many bad relay cases are really design or wiring issues.
Common Failure Perceptions vs Likely Root Causes
- Relay does nothing: Often due to missing or wrong supply voltage on A1/A2, or a required control input that is not connected.
- Relay never releases or never energizes: Often caused by choosing the wrong timing mode (DOM vs DOB) or wiring the control input incorrectly.
- Equipment cycles too fast or too slow: Usually a delay setting problem, not a hardware defect.
The hardware is mature and robust. The main uncertainty sits in how people interpret and configure it.
Field Validation: How to Confirm Timing Behavior Before Committing
The source material does not give a formal test method, but a simple check can cut risk.
- Bench test before installation: Power the relay on a test bench, apply and remove the control signal, and time the delay with a stopwatch.
- Verify both states: Confirm behavior when you apply the control signal and when you remove it.
- Document the observed behavior: Record which terminals you used, what voltage you applied, and the measured delay.
This small test step can prevent misdiagnosis in the field and avoid unnecessary replacements.
Residual Uncertainties
Even with careful selection and testing, some uncertainties remain.
- Exact lifetime under specific load conditions is not quantified in the material.
- Long-term drift of timing accuracy is not discussed.
- Interactions with other protective devices (for example, overload relays, breakers) depend on the application and are not covered.
To handle these unknowns, follow equipment manufacturer recommendations, avoid running relays at the edge of their ratings, and include periodic inspection or testing in your maintenance plans.
Summary Table: Key Decisions and Trade-offs for Delay-on-Make vs Delay-on-Break
The table below pulls together the main decisions and shows the key trade-offs without using specific cost numbers.
| Decision | Option | Main Benefit | Main Cost / Risk |
| Timing behavior | Delay-on-Make (DOM / On-Delay) | Protects against short cycling; reduces mechanical wear. | Slower response; users may perceive lag. |
| Timing behavior | Delay-on-Break (DOB / Off-Delay) | Provides run-on; improves comfort and smooth shutdown. | Higher energy use; may appear “stuck on.” |
| Relay type | Single-function | Lower unit cost; simpler configuration. | Less flexible; more part numbers to stock. |
| Relay type | Multifunction | High flexibility; fewer SKUs. | Higher cost; more configuration errors. |
| Sequence design | Two relays + wiring | Uses standard parts; easy replacement. | More wiring; more points of failure. |
| Sequence design | Multifunction timer or PLC | Compact; highly configurable. | Higher cost; requires expertise. |
| Training vs errors | Invest in training | Fewer miswirings and callbacks. | Upfront time and training cost. |
| Training vs errors | Minimal training | Lower immediate overhead. | Higher long-term error and rework cost. |
Practical Implementation Framework: From Specification to Commissioning
You can turn these choices into a repeatable process. Use this simple framework when you specify and deploy time delay relays.
1. Define the Required Behavior
- Is the goal to delay turn-on (DOM) or turn-off (DOB)?
- Do you need a more complex sequence, such as break-delay-make?
- What minimum off-time or run-on time does the equipment manufacturer recommend?
2. Choose Hardware Type
- For standardized, high-volume designs: use single-function relays with the exact timing behavior you need.
- For varied or changing designs: consider multifunction relays, and plan for training and clear documentation.
3. Verify Voltage and Terminal Conventions
- Confirm that A1/A2 match the available control voltage.
- Check whether the chosen timing mode needs a separate control input (B1/Y1/Y2).
- Map IEC contact numbers (15, 16, 18, etc.) to your load wiring diagram.
4. Bench Test Timing Behavior
- Apply and remove the control signal while you watch the relay and measure the delay.
- Confirm that the behavior matches the intended DOM or DOB function.
- Record the configuration (mode, time range, terminal usage) for future reference.
5. Commission and Monitor
- Install the relay in the real system and observe it under actual load.
- Watch for short cycling, excessive run-on, or user complaints about response time.
- Adjust delay settings within the safe range the equipment manufacturer recommends.
If you treat DOM vs DOB selection, relay type, and wiring conventions as clear decisions with clear trade-offs, you can cut the hidden costs of mis-specification and miswiring. You also give your time delay relays a better chance to protect equipment and meet user expectations at the same time.