Every time I walk through an airport, I see the same thing: people casually handing over money for fees they could have dodged with 10 minutes of planning. Baggage. Seats. Snacks. “Convenience” charges. It all adds up fast.
If airport days feel like they bleed money, this guide is for you. I’ll walk you step by step through the decisions that quietly drain your wallet – and how to flip each one in your favor so you can avoid common airport expenses without feeling deprived.
1. Before You Even Search Flights: Decide What You’re Really Paying For
Most people start with one question: What’s the cheapest ticket?
That’s the wrong question.
Airlines know you’re hunting for the lowest number on the screen, so they strip the fare down and sell everything else back to you as airport add‑on charges. Bags, seats, flexibility, even carry‑ons on some airlines.
Instead, I start with: What do I actually need for this trip?
- Do I need checked bags? If yes, I immediately rule out basic economy fares that charge heavily for them.
- Do I care where I sit? If I’m fine with a random seat, I mentally subtract seat fees from my budget.
- Do I need flexibility? If I might change dates, I avoid ultra‑restricted fares, even if they’re cheaper today.
Then I compare flights based on total trip cost, not just the base fare. That means:
- Base fare
- + bags (checked + carry‑on if not included)
- + seat selection (if you care)
- + taxes and surcharges (especially on award tickets)
Many of the nastiest hidden airport costs only appear on the final booking screens and are sometimes pre‑selected. I always run a dummy booking all the way to the payment page just to see the real number before I commit. No card details, just information.
Once you start thinking in total cost instead of ticket price, a lot of “cheap” flights stop looking cheap. That’s the first step in any realistic airport budget guide.
2. Baggage: Build a No‑Surprise Plan Before You Pack
Baggage is where airport days quietly get expensive. Not because you checked a bag – but because you didn’t plan how you’d check it.
Here’s the order I follow, every single trip to avoid baggage fees and other airport money mistakes:
- Check the airline’s baggage policy before booking.
I don’t guess. I look up the exact rules for my route and fare type: personal item, carry‑on, first checked bag, second bag, overweight, oversize. Policies change often, and they vary wildly by airline. - Decide my strategy by trip length.
- 1–3 days: I aim for personal item only. A small backpack that fits under the seat. No carry‑on, no checked bag, no fees.
- 4–7 days: I try to make a single carry‑on work. If the airline charges for carry‑ons (some ultra‑low‑cost carriers do), I compare that cost to a fare that includes a checked bag.
- Longer trips or special gear: I accept I’ll check a bag, then focus on making it light and compliant to avoid overweight penalties.
- Weigh and measure at home.
Overweight fees can be brutal – often more than the original checked bag fee. I use a cheap luggage scale and check the airline’s weight table. If I’m close to the limit, I move heavy items (shoes, books, electronics) into my personal item. - Buy bags online, never at the airport.
Many airlines charge significantly more if you add bags at the counter. I add them during booking or online check‑in. Same bag, different price.
One more angle most people ignore: sometimes a slightly higher fare class that includes a checked bag is cheaper than a rock‑bottom fare plus à‑la‑carte baggage. I always do the math so I don’t get burned by overpriced airport purchases later.
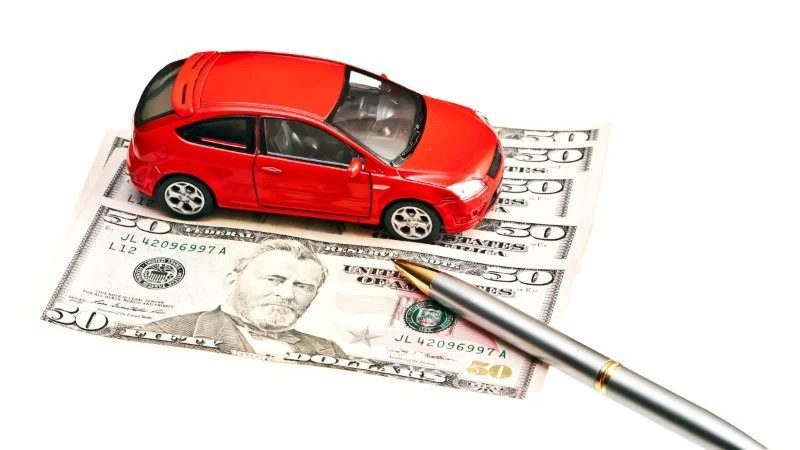
3. Credit Cards & Loyalty: Turn Fees Into Perks (or at Least Refunds)
Airlines love fees. Banks love that airlines love fees. If you’re going to play this game, you might as well use the rules to your advantage and save money at the airport where you can.
I look at three layers of protection:
- Co‑branded airline cards.
Many airline credit cards give you at least one free checked bag for you (and sometimes companions on the same reservation). If you fly that airline a few times a year, the savings can easily beat the annual fee. - Premium travel cards with travel credits.
Cards like the big‑name premium travel products often offer annual travel credits (for example, $300) that automatically reimburse travel purchases – including baggage fees. I treat that credit as a buffer against surprise charges. - Frequent flyer programs.
Even without elite status, joining the program can unlock better options and targeted offers. With status, you can get free bags, priority boarding, and sometimes better seat selection. But I’m realistic: elite status usually requires serious flying and spending. I don’t chase it unless my travel volume justifies it.
The key is to align your flying with your perks. If one airline’s card gives you free bags and you keep flying a different carrier “because it’s $20 cheaper,” you’re probably losing money overall.
Also, watch for foreign transaction fees on cards when booking international flights. Paying 3% extra on a $1,000 ticket is an invisible fee you never see on the airline’s site – but you still pay it.
4. Seats: When to Pay, When to Shrug
Seat selection used to be included. Now it’s a revenue stream and one of those common airport expenses to avoid when you can.
Here’s how I decide whether to pay:
- Short flights (under 2–3 hours): I usually skip paid seat selection. I let the airline auto‑assign a seat at check‑in. If I get stuck in the middle, I survive.
- Long flights or overnight flights: I’m more willing to pay for an aisle or window, especially if I need to sleep or work.
- Traveling with kids or a group: This is where it gets tricky. Some airlines will try to separate you unless you pay. I check their family seating policy in advance. If it’s vague or unfriendly, I factor seat fees into the total cost.
One thing I never do: pay for a seat just because the booking engine makes it look urgent. Those red “only 3 left” warnings are designed to push you into a decision. I ask myself: If I end up in a random seat, is that actually a problem?
If the answer is no, I keep my money.

5. Food, Drinks & Wi‑Fi: The Slow Drip That Wrecks Your Budget
Airport days are long. That’s exactly why food and comfort are priced like luxury goods. Airport food and drink prices are one of the easiest ways to blow your budget without noticing.
I don’t try to starve my way through a travel day. I just refuse to pay $18 for a sad sandwich if I can avoid it.
My routine looks like this:
- Eat before the airport. A real meal at home or near the hotel is almost always cheaper and better.
- Bring snacks. Nuts, granola bars, fruit, sandwiches – as long as it’s solid food, security is usually fine. Drinks are the issue, not food.
- Carry an empty water bottle. Fill it after security. Buying bottled water at the airport is one of the easiest fees to eliminate.
- Download entertainment in advance. Movies, playlists, podcasts, offline maps. That way I’m not paying for in‑flight entertainment or feeling forced into buying Wi‑Fi just to stay sane.
- Use free Wi‑Fi and charging stations. Most airports now offer free Wi‑Fi. I also keep a small power strip or multi‑port charger so I’m not fighting for outlets.
Lounges are another angle. If your card or status gets you free lounge access, that can replace buying food in the terminal. But I don’t buy a day pass unless I’ve done the math: will I really eat, drink, and work enough to justify the cost?

6. Check‑In, Boarding & “Priority” Everything: What’s Worth It?
Airlines love selling you time and status in tiny slices: priority check‑in, priority security, priority boarding, early seat selection, “express” this and that.
I ask one question: What problem is this actually solving for me?
- Priority check‑in: Useful if you’re checking bags at peak times and the regular line is brutal. Otherwise, I skip it.
- Priority security: I’d rather invest in a trusted traveler program (like TSA PreCheck, Global Entry, or your country’s equivalent) than pay per‑flight fees.
- Priority boarding: This only matters if you must have overhead bin space. If I’m traveling with just a personal item that fits under the seat, I don’t care when I board.
One underrated trick: some full‑service airlines will gate‑check bags for free when overhead bins are full. If I’m carrying a bag that would otherwise be a paid checked bag, this can be a quiet win – but it’s not guaranteed, and budget carriers often don’t play this game.
Also watch for sneaky fees like:
- Charges for printed boarding passes at the airport
- Fees for booking through certain third‑party sites
- “Admin” or “service” fees added at the last step of booking
I avoid these by:
- Booking directly with the airline when possible
- Using mobile boarding passes
- Reading the final payment screen like a contract, and unchecking anything I don’t truly need
7. Overweight, Oversize & Odd Items: The Silent Budget Killers
Most people focus on whether they’ll pay a bag fee. The real danger is how much they’ll pay if the bag is overweight or oversized.
Overweight fees can easily double or triple your cost. I’ve seen people pay more in overweight charges than the price of their ticket. These are the hidden airport costs that really sting.
Here’s how I avoid that trap:
- Know the thresholds. Is the limit 23 kg (50 lb)? 20 kg? Does the airline have a second, higher tier (e.g., 50–70 lb) with a massive surcharge? I check before I pack.
- Use a luggage scale both ways. Outbound and return. Souvenirs and extra clothes add up. I’ve repacked in my hotel room more than once to dodge a fee.
- Split weight smartly. If I’m traveling with someone, we balance heavy items between bags instead of letting one bag go overweight.
- Consider shipping. For awkward or heavy items (tools, sports gear, bulky souvenirs), shipping them via postal or courier service can be cheaper and less stressful than paying airline fees – especially on domestic routes.
For special items (musical instruments, sports equipment, strollers, car seats), I always read the airline’s specific policy. Some items are treated generously; others are fee magnets.
8. Put It All Together: Your Step‑by‑Step “No Surprise Fees” Checklist
Here’s the simple flow I use now. You can copy it, tweak it, and make it your own. Think of it as your quick airport cost‑saving tips list.
- Before booking:
- Decide what you actually need: bags, seats, flexibility.
- Check baggage policies for your route and fare type.
- Run a dummy booking to the payment page to see the real total.
- Compare flights by total cost, not just base fare.
- When booking:
- Add any checked bags online (never wait for the airport).
- Skip seat selection unless it solves a real problem (long flight, kids, must‑sit‑together).
- Uncheck extras you don’t need: insurance, priority boarding, “recommended” add‑ons.
- Use a card that gives you free bags, travel credits, or no foreign transaction fees.
- Before you leave home:
- Weigh and measure your bags.
- Repack to avoid overweight or oversize charges.
- Download entertainment and offline maps.
- Pack snacks and an empty water bottle.
- Check in online and download your mobile boarding pass.
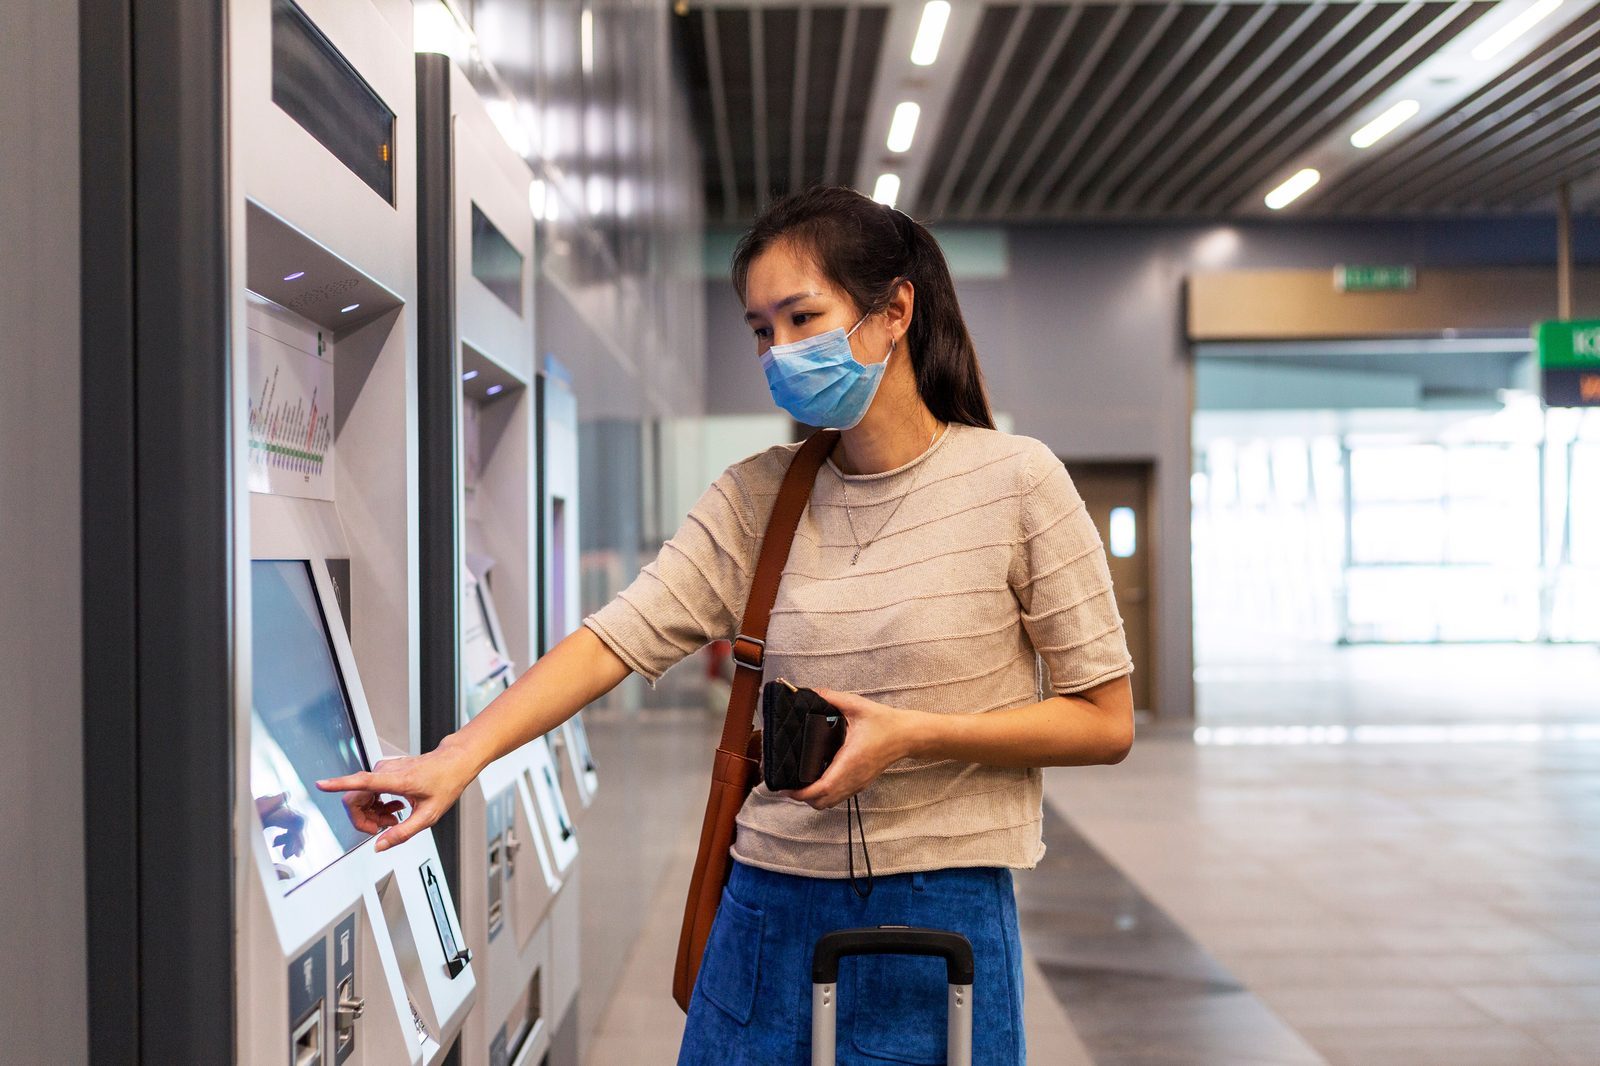
- At the airport:
- Use self‑service check‑in if it avoids lines and fees.
- Use free Wi‑Fi and charging stations instead of paid options.
- Ignore pressure to buy last‑minute upgrades you don’t truly need.
Airport days don’t have to bleed money. Once you see how the fee machine works, you can decide – calmly, deliberately – where you’re willing to pay and where you’re not.
Next time you fly, pick one fee you usually pay without thinking and see if you can eliminate it. Then build from there. That’s how you go from constant airport money mistakes to a trip that feels controlled, intentional – and a lot less costly.