I plan my U.S. trips very differently now. Not around cheap flights. Not around hotel deals. Around one thing: visa interview chaos.
If you’ve checked the U.S. visa wait-time page lately, you know what I mean. One week your city shows 45 days. The next week it jumps to 190. Then it drops. Then it spikes again. You can’t control it. But you can plan smartly around it.
Think of this as a practical playbook for planning a U.S. trip around your visa interview when everything keeps shifting. What to do first, what to delay, and what to never lock in too early—especially when you’re dealing with unpredictable U.S. visa appointment wait times.
1. Start With Reality, Not Hope: How Long Could This Actually Take?
Most people pick travel dates first and then try to squeeze the visa process into that window. I do the opposite. I start with the system’s reality and only then decide if the trip is worth planning at all.
Here’s my usual routine:
- I check the official Global Visa Wait Times tool for the
average
interview wait time at all nearby consulates. - I remind myself this number is only for getting an appointment. It does not include post-interview processing or passport delivery.
- I assume the real timeline is: wait for appointment + 1–3 weeks for normal processing, and potentially much longer if the case goes into administrative processing under Section 221(g).
Then I ask a blunt question: If this takes the worst-case time, will the trip still make sense?
If the answer is no, I don’t build my life around a fantasy date. I either push the trip further out or accept that this is a maybe someday
plan, not a fixed commitment.
Key takeaway: Treat the posted wait time as a moving estimate, not a promise. When you’re doing U.S. trip planning with an uncertain visa date, plan around the worst case, not the best.
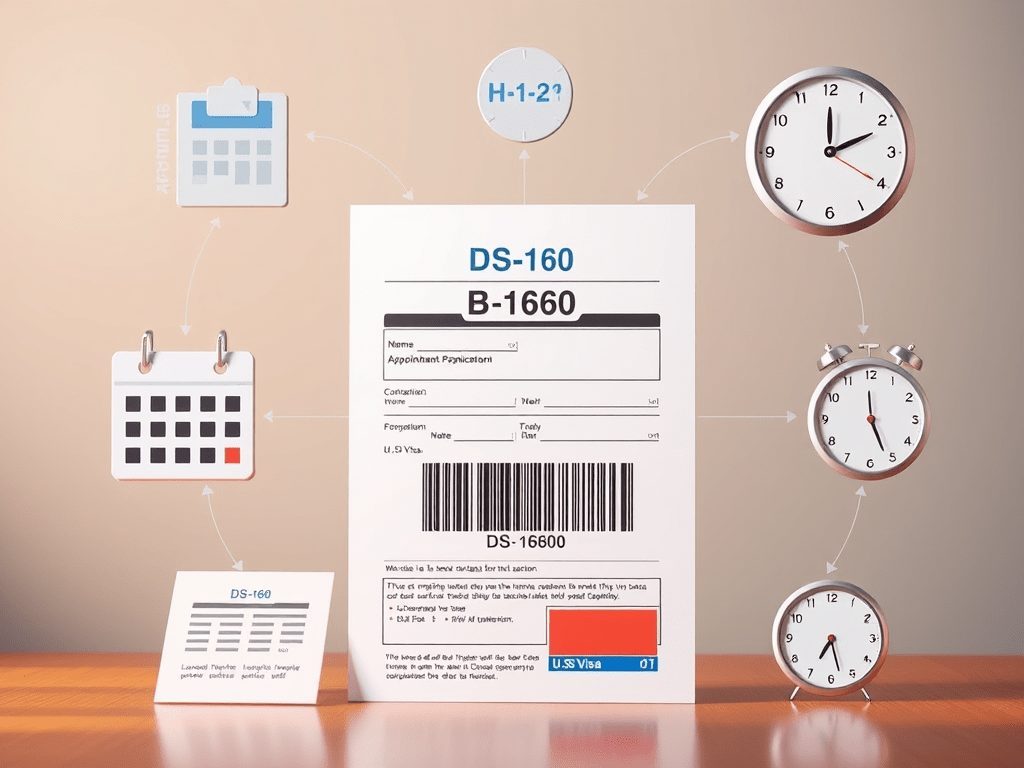
2. Lock in the System, Not the Trip: DS-160, Fee, and First Appointment
Once I decide the trip is at least plausible, I don’t sit around waiting for the stars to align. I move quickly on the things that unlock options later.
For most nonimmigrant visas (B1/B2, F, J, etc.), the sequence is:
- Choose the correct visa category (tourist, business, student, work, exchange, etc.).
- Complete the DS-160 form carefully. It can easily take 1–2 hours if you do it properly.
- Pay the MRV fee (non-refundable).
- Create or log into the appointment system for your country.
- Book the earliest available appointment you can see, even if it’s months away.
Why I always grab the first available slot instead of waiting for a better one:
- It gets me into the system. Without an appointment, I can’t reschedule, request an expedited slot, or use any of the system’s flexibility.
- It gives me a
placeholder
date I can move earlier if new slots open up. - It forces me to stop procrastinating and treat the process as real.
From India, for example, this is how many people deal with long queues: they grab the first date after paying the fee, then keep hunting for earlier slots using rescheduling, interview waivers (Dropbox), or expedited requests when justified.
Key takeaway: Don’t wait for a perfect
date. Book something first. The system tends to reward people who are already in it.
3. Choose Your Battlefield: Which Consulate Gives You the Best Odds?
One of the first questions I ask is: Am I stuck with my local consulate, or can I apply somewhere else?
In many cases, you’re allowed to apply at any U.S. embassy or consulate where you’re legally present. That might mean another city in your country, or even a different country where you can travel visa-free or with an easy entry visa.
Why this matters when you’re timing U.S. travel with embassy interview dates:
- Wait times can vary dramatically between posts. One city might show weeks, another many months.
- Some posts prioritize certain categories (work, study, official) over tourist visas.
- Employment-based categories (H, L, O, P, etc.) often get faster interview access than B1/B2.
Here’s what I usually do:
- Check wait times for all consulates I could realistically travel to.
- Factor in the cost, logistics, and risk of traveling to that city or country just for the interview.
- Ask myself:
If my visa is delayed or refused, will I regret having flown there?
Sometimes the answer is yes, and I stick to my home post. Sometimes a third-country consulate with a shorter queue is worth it, especially for time-sensitive work or study plans.
Key takeaway: Don’t assume your nearest consulate is your only option. But don’t chase a shorter queue blindly without counting the cost and risk.

4. Build a Flexible Trip, Not a Fragile One: Flights, Hotels, and Money
This is where people lose money. They treat a visa that doesn’t exist yet as if it’s guaranteed—and then learn the hard way about the risk of buying tickets before a U.S. visa is approved.
My rule is simple: don’t fully prepay what you can’t afford to lose before the visa is in your passport.
Here’s how I handle the big items when I plan a U.S. trip around a visa interview date that might move.
Flights
- Most embassies do not require a fully paid ticket. A realistic itinerary or temporary reservation is usually enough.
- I use a flight itinerary service or a hold option instead of buying a non-refundable ticket too early.
- If I absolutely must book, I look for low-change-fee tickets or genuinely refundable fares—and I read the fine print, because
refundable
can be misleading.
This is where the refundable vs non-refundable flights for visa decision really matters. Flexible tickets for U.S. visa delays can save you a lot of stress.
Accommodation
- I favor hotels or rentals with free cancellation or very low penalties.
- I avoid prepaying non-refundable stays until after visa approval, unless the discount is huge and I’m genuinely comfortable with the risk.
Other costs
- Event tickets, tours, conferences: I assume these are sunk costs if the visa is delayed.
- I only book non-essential extras once the visa is issued.
In my cover letter or trip explanation, I sometimes add a line like: Flights and hotels will be ticketed after visa approval to avoid unnecessary cancellations.
It shows I’m planning responsibly, not gambling.
Key takeaway: Design your trip so that if the visa is delayed, you’re disappointed—but not financially wrecked. Avoid the classic mistakes of booking too much before your U.S. visa is approved.

5. Use the System’s Loopholes (The Legal Ones): Waivers, Rescheduling, and Expedited Slots
When wait times are unpredictable, I don’t just stare at the screen and complain. I use every legitimate lever the system offers.
Interview Waiver / Dropbox
In many countries, if you’re renewing a visa or meet certain criteria, you may qualify to skip the in-person interview and just drop off your passport and documents.
What I check:
- Am I renewing the same category within the allowed time window?
- Is my previous visa still valid or only recently expired?
- Do I meet age, nationality, and prior-visa conditions for that country’s waiver rules?
When this works, it can cut the wait from months to weeks. But I always confirm the rules on the specific embassy or consulate website, because eligibility is very location-specific.
Rescheduling and slot hunting
Once I have an appointment, I treat the calendar like a dynamic marketplace rather than a fixed date.
- I log in a few times a day (not every minute) to check for earlier cancellations or newly released slots.
- I avoid obsessive refreshing that can trigger a 24-hour lockout on some systems.
- I watch for patterns: some posts release bulk slots before student seasons or major holidays.
Expedited appointments
I only consider this if I have a genuinely urgent reason, such as:
- Imminent university start date with proof of enrollment.
- Medical emergencies with documentation.
- Funerals or critical family emergencies.
- ESTA denial when travel is time-sensitive.
The process is usually:
- Complete DS-160.
- Pay the fee.
- Book the earliest regular appointment.
- Request an expedited slot through the system, attaching strong evidence.
I never build my entire plan on the hope that an expedited request will be approved. It’s discretionary, and routine tourism, weddings, or graduations usually don’t qualify.
Key takeaway: The system has pressure valves—interview waivers, rescheduling, and expedited requests—but they only help if you’re already in the pipeline and you use them honestly.
6. Plan for the Second Wait: What If Your Case Goes Into Administrative Processing?
Most people obsess over the wait before the interview and forget there’s a second, separate wait after it.
Here’s how I think about it:
- Normal cases: If approved, passports are usually kept for a few days to a couple of weeks for printing and security checks.
- Administrative processing (221(g)): The case is put on hold for extra checks, sometimes involving multiple U.S. agencies. There is no guaranteed timeline.
So I never:
- Book a non-refundable flight for the day after my interview.
- Assume that
approved at the window
means I’ll have my passport back in three days.
Instead, I:
- Leave a buffer of at least a couple of weeks between the interview and my intended travel date.
- Accept that if I’m unlucky and hit administrative processing, the trip might need to be postponed or cancelled.
- Use the CEAC status tracker to monitor progress, but I don’t expect detailed explanations.
Key takeaway: There are two clocks: the appointment wait and the post-interview processing. Any realistic travel strategy for long U.S. visa queues has to survive both.

7. Match Your Story to Your Paperwork: Preparing for a 3-Minute Interview
The interview itself is short—often 2–5 minutes. That’s not much time to fix months of sloppy planning or inconsistent answers.
Here’s how I prepare so my case doesn’t get delayed for avoidable reasons:
Consistency
- I read my DS-160 again before the interview. Every date, job title, salary, and travel plan needs to match what I say at the window.
- If something changed (job, salary, itinerary), I’m ready to explain it clearly and honestly.
Clarity of purpose
- I can explain my trip in one or two sentences:
I’m going for a 10-day tourism trip to New York and Boston, funded by my savings and current job.
- I know my own numbers: approximate trip cost, my income, and how I’m paying for it.
Ties to home
- I’m ready to talk about my job, business, studies, or family responsibilities that bring me back.
- I don’t over-explain or sound like I memorized a script, but I’m not vague either.
Officers are mainly checking two things: are you who you say you are, and are you likely to return. A clear story and clean paperwork won’t guarantee approval, but they reduce the chance of extra questions, confusion, or delays.
Key takeaway: A consistent, well-prepared case protects you from self-inflicted red flags and unnecessary processing delays.
8. How I’d Actually Plan a Trip, Step by Step
Let’s put this into a simple sequence you can adapt to your own situation—especially if you’re trying to avoid mistakes when booking before a U.S. visa is approved.
- Check reality first. Look up current wait times for multiple consulates you can legally use. Decide if your target travel window is realistic, given both the interview wait and post-interview processing.
- Choose the right visa category. If your purpose could honestly fit a work, study, or exchange category with better priority, explore that instead of forcing everything into a tourist visa.
- Complete DS-160 and pay the fee. Do this early. Double-check every detail for accuracy.
- Book the earliest appointment you can see. Don’t wait for a perfect date. Get into the system so you can reschedule if needed.
- Check for interview waiver eligibility. If you qualify for a dropbox/waiver, follow the instructions exactly for that embassy or consulate.
- Build a flexible trip plan. Use itineraries, refundable or low-risk bookings, and flexible tickets for possible U.S. visa delays. Avoid big non-refundable payments before visa issuance.
- Monitor and adjust. Log in a few times a day to look for earlier slots. Watch embassy announcements for bulk releases or changes in processing.
- Request expedited only if truly urgent. Prepare strong documentation and accept that approval is not guaranteed.
- Prepare for the interview. Align your story, documents, and DS-160. Keep your answers short, honest, and clear.
- Leave a buffer after the interview. Don’t plan to travel immediately. Give yourself time for passport printing—or for administrative processing, if it happens.
If you plan your U.S. trip this way, changing visa interview wait times become an annoyance, not a disaster. You’re not betting your money, your vacation, or your sanity on a system you don’t control. You’re working with it—eyes open.
And that’s the real goal: not just getting the visa, but getting it without wrecking the rest of your life in the process.