I don’t trust visa timelines. I trust paperwork.
Most people blame slow embassies
for delays. In reality, a huge share of cases stall because the file wasn’t truly visa-ready: missing pages, wrong formats, mismatched dates, blurry scans, or documents that simply don’t tell one clear story.
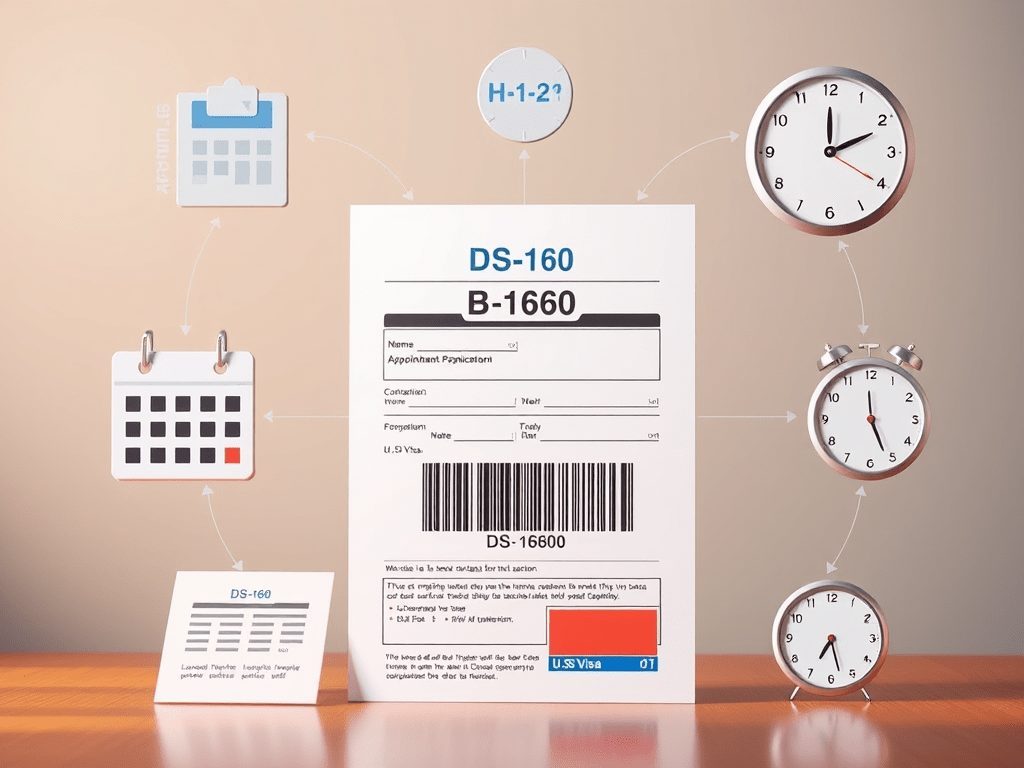
In this guide, you’ll build a reusable visa-ready document kit—a system of checklists and templates you can adapt for almost any visa type. Tourist, student, work, family reunion: the structure is the same.
The goal is simple: submit once, avoid Additional Document Requests (ADRs), and stop refreshing your email every 10 minutes.
1. Decide Your Strategy: Speed vs. “Visa-Ready” Accuracy
Before you touch a form, decide what game you’re playing.
Most applicants rush to submit quickly
and then spend weeks fixing avoidable mistakes. A better strategy is to aim for visa-ready accuracy: a file that meets 100% of the visa application document requirements in one shot.
From what I’ve seen (and what many immigration professionals confirm), delays usually come from:
- Missing or incomplete documents
- Inconsistent information across forms and evidence
- Wrong document type (e.g., hospital birth note instead of civil birth certificate)
- Poor-quality scans or photos
- Outdated forms or old checklists
So here’s the mindset shift:
- Don’t file fast. File clean. A well-prepared first submission almost always moves faster than a rushed one that triggers ADRs.
- Think like a case officer. They don’t know you. They only see your documents. If your file is confusing, they slow down.
To support this, you’ll build a Visa-Ready Document Kit with three core tools:
- A Master Requirements Sheet for your specific visa type and consulate
- A set of document checklists (identity, finances, travel story, etc.)
- Simple templates (cover letter, trip summary, employer letter, sponsor letter)
Think of it as your personal travel visa document organizer. Once it’s built, every new application gets easier.
2. Build Your Master Requirements Sheet (So You Don’t Chase Old Advice)
Most people start with blogs and forums. I start with the official rules.
Visa requirements change quietly. Forms get new versions. Photo specs update. If you rely on a random checklist from 2021, you’re asking for trouble—and for visa processing delays.
Here’s how to build a Master Requirements Sheet for each application:
- Go to the official government site for your visa type and consulate.
For example, for U.S. visas, start with the U.S. Department of State and the specific embassy/consulate page. - Identify three things:
- Required forms (with version numbers)
- Required supporting documents (by category)
- Any country-specific rules (e.g., reciprocity tables for civil documents)
- Copy everything into a simple table (spreadsheet or document) with columns like:
- Item (e.g., Birth certificate)
- Official description (exact wording from the site)
- Who must provide it (main applicant, spouse, children)
- Format (original, certified copy, digital upload, translation needed?)
- Status (Not started / Requested / Received / Scanned / Uploaded)
For U.S. immigrant visas, also check the reciprocity tables to see exactly what kind of birth, marriage, or police certificates are acceptable from your country. Local practice doesn’t matter; the reciprocity table does.
Once this sheet is built, it becomes your single source of truth. No more guessing. No more conflicting advice from friends. No more mixing old and new visa document checklist templates.

3. Create Your Core Document Checklists (Identity, History, Money)
Now turn the Master Sheet into practical, reusable checklists. Instead of copying random lists online, you’ll build your own visa document kit for travelers that actually fits your situation.
I like to group documents by what they prove, not by what they’re called.
Embassies and visa centers are basically asking five questions:
- Who are you? (identity & civil status)
- What’s your story so far? (travel, immigration, criminal history)
- Can you afford this trip or stay? (finances & employment)
- Why are you going? (purpose of travel / study / work)
- Will you respect the rules? (ties to home country, compliance history)
Your Visa-Ready Kit should have a checklist for each. You can even turn them into a printable visa checklist PDF if you like working on paper.
Identity & Civil Status Checklist
- Passport (valid for the required period, usually 6+ months beyond travel)
- Full birth certificate (civil registry, not hospital souvenir; both parents’ names where required)
- Marriage certificate / divorce decree / death certificate (if applicable)
- National ID (if requested)
- Name change documents (if any)
- Certified translations for all non-accepted languages
For U.S. NVC cases, short-form or hospital birth certificates are often rejected. They want full, original or certified copies that match the reciprocity table description.
History Checklist (Travel, Immigration, Criminal)
- Previous passports (if requested)
- Old visas and entry/exit stamps (especially for countries you’re applying to again)
- Police certificates from all required countries and time periods
- Any court records or explanations for past issues (even if resolved)
- Prior immigration decisions (refusals, overstays, deportations) with honest explanations
Finances & Employment Checklist
- Recent bank statements (usually 3–6 months, with clear name and account number)
- Pay slips / salary certificates
- Employment letter (role, salary, start date, approved leave if tourist)
- Tax returns (if required)
- Business registration and financials (if self-employed)
- Sponsorship documents (if someone else is funding you)
Purpose & Ties Checklist
- Invitation letter / admission letter / job offer, depending on visa type
- Itinerary, hotel bookings, or tour confirmations
- Proof of ties: property documents, family responsibilities, long-term job, business ownership
- Insurance policy (if required)
Turn each of these into a simple, printable checklist. Every time you apply for a new visa, you’re not starting from zero—you’re just adapting the kit.
You can even create variations: a student visa document checklist, a work visa application documents checklist, and a lighter version for short tourist trips.

4. Make All Documents Tell One Story (The “Master Trip Sentence” Trick)
Modern embassies don’t just look at individual documents. They check whether your entire file tells one coherent story.
Here’s where many otherwise strong applications fall apart:
- Flight booking says 10–20 June
- Hotel booking says 11–19 June
- Travel insurance says 9–18 June
- Employer leave letter says 8–22 June
Individually, each document looks fine. Together, they scream careless
. And consulates now use digital tools to spot these mismatches quickly.
To avoid these classic visa paperwork mistakes, use a simple tool: the Master Trip Sentence.
Write one clear sentence that defines your trip:
I will travel to [countries/cities] from [start date] to [end date] to [purpose: tourism, conference, visit family, study, etc.], and I will return to [home country] on [return date].
Then align everything to that sentence:
- Flight reservations
- Hotel bookings
- Travel insurance dates
- Employer leave letter
- Cover letter / explanation letter
If one document doesn’t match, fix it before submission. This is where dummy flight reservations with verifiable PNRs can be useful: you can test and adjust your itinerary before buying non-refundable tickets.
In your Visa-Ready Kit, keep a simple Trip Story Template that includes:
- Master Trip Sentence
- Day-by-day outline (very brief)
- List of documents that must match this story
This tiny step alone can help you avoid visa processing delays caused by confusion over dates and purpose.

5. Set Up Your Digital File System and Scanning Standards
Even perfect documents can be rejected if they’re badly scanned or badly named. This is especially true for systems like CEAC (for U.S. NVC) and other e-visa portals that enforce strict digital rules.
I treat my digital folder like a mini visa office. It’s a simple visa file preparation guide you can reuse every time.
Folder Structure Template
Create a main folder named:
Visa-[Country]-[Type]-[Year]
Inside it, create subfolders:
- 01-Forms
- 02-Identity-Civil
- 03-Finances-Employment
- 04-Travel-Story (flights, hotels, insurance, itinerary)
- 05-History (police, previous visas, refusals)
- 06-Supporting-Letters
- 07-Translations
File Naming Template
Use clear, consistent names. For example:
- Passport-MainApplicant-Lastname-FirstName.pdf
- BirthCertificate-Lastname-FirstName-YYYY.pdf
- BankStatements-Account1234-JanToMar2026.pdf
- PoliceCertificate-CountryName-2026.pdf
Then check the portal’s technical rules:
- Allowed formats (PDF, JPG, PNG, etc.)
- Maximum file size per upload
- Color vs. black-and-white
- One document per file vs. multiple pages allowed
For scanning, aim for:
- 300 dpi resolution
- Color scans for anything with stamps or seals
- No cut-off edges, no shadows, no fingers in the frame
Before uploading, open each file and ask yourself: If I were an officer seeing this for the first time, could I read every word without effort?
If the answer is no, rescan.
This is the unglamorous part of how to prepare visa documents, but it’s where many people lose time.

6. Use Simple Templates to Avoid Confusing, Last‑Minute Letters
Many delays come from messy, improvised letters: vague employer letters, unclear sponsor explanations, or cover letters that raise more questions than they answer.
Your Visa-Ready Kit should include a few reusable visa document templates for travelers you can adapt each time.
Cover Letter Template (Tourist / Short Stay)
Keep it to one page. Include:
- Who you are (name, passport number, occupation)
- Your Master Trip Sentence
- Who is paying for the trip
- Key ties to home country (job, family, property, studies)
- List of attached documents (grouped by category)
The tone should be factual, not emotional. You’re not begging; you’re clarifying.
Employer Leave Letter Template
On company letterhead, signed, with:
- Your full name and position
- Employment start date
- Confirmation of approved leave with exact dates
- Statement that you will resume your position after the trip
- Contact details for verification
Sponsor Letter Template
If someone else is funding you, their letter should clearly state:
- Relationship to you
- Purpose of your trip
- Exactly what they will cover (flights, accommodation, daily expenses)
- Source of their funds (supported by bank statements, payslips, etc.)
Store these templates in your Visa-Ready Kit. Next time you apply, you’re not writing from scratch—you’re just updating dates and details.

7. Run a Pre‑Submission Audit (Catch ADR Triggers Before the Embassy Does)
Before you hit Submit
or send your file to a visa center, do one final, ruthless review. This is where you prevent ADRs and weeks of waiting.
Think of it as your last line of defense against hidden visa paperwork mistakes to avoid.
I use a simple three-pass audit:
Pass 1: Completeness
- Every item on your Master Requirements Sheet is marked as Uploaded or Included
- No required field on any form is left blank without a clear
N/A
where allowed - All signatures and dates are present and consistent
Pass 2: Consistency
- Names, dates of birth, and passport numbers match across all documents
- Trip dates match across flights, hotels, insurance, employer letters, and cover letter
- Financial story is coherent (income vs. bank balance vs. trip cost)
- Any past refusals or issues are disclosed consistently wherever asked
Pass 3: Clarity & Quality
- All scans are readable, properly oriented, and not cut off
- Translations are certified and attached to the original documents
- No document looks altered or suspicious (never, ever edit official documents)
If you want to be extra cautious, have someone who doesn’t know your story read your cover letter and look at your documents. Ask them: From this file alone, what do you think I’m doing, when, and who is paying?
If they’re confused, an officer will be too.

8. Turn This Into a Reusable System (So Every Future Visa Is Easier)
Once you’ve built your Visa-Ready Document Kit, don’t throw it away after one application. Refine it.
After each visa decision, ask yourself:
- Did the embassy ask for additional documents? Add those to your future checklists.
- Did they comment on anything (in person or in writing)? Adjust your templates.
- Did any document cause confusion or delay? Improve that part of your system.
Over time, you’ll have:
- A personal library of proven templates
- A refined set of checklists for different visa types (tourist, student, work)
- A digital archive of past applications you can reuse and adapt
In other words, you’re not just filling forms—you’re building a long-term visa document checklist template that grows with you.
And the next time someone tells you their visa is delayed because the embassy is slow
, you’ll know to ask a better question:
Was your file truly visa-ready when you submitted it?
If you build and use this kit properly, your answer will be yes—and your processing times will usually reflect that.